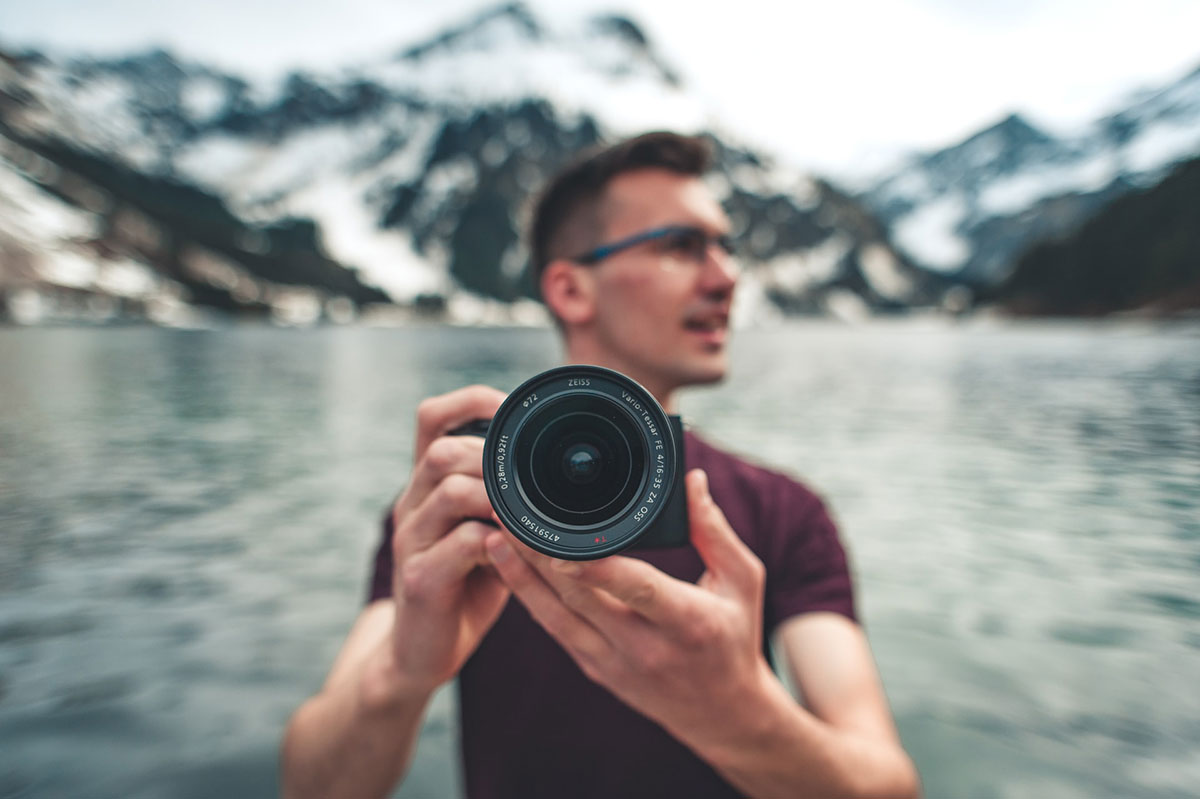
If you own a mirrorless or DSLR camera and notice a few black dots on your photos (as the image above), don’t panic! It’s just dust stuck on your sensor.
That happens often, when we mount different lenses on our camera body and leave the sensor exposed either we’re indoors or outdoors. Don’t worry, you can clean your sensor by following these 3 easy steps:
1. Camera Settings
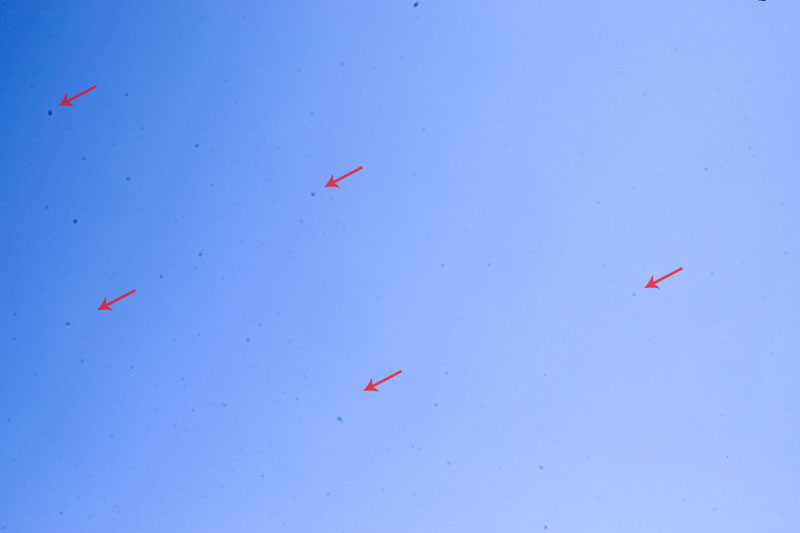
In order to clean your sensor correctly, you will need to take a photo by pointing to a surface that is really bright and clean. You can point and shoot at a bright white wall (with a lot of natural light coming in) or in my case the sky using the following settings:
- Focal Length: Any
- Aperture: Minimum (In my case f/22)
- Shutter Speed: 1/80
- ISO: 100
(Sensor Cleaning – Image 1)
As you can see my sensor is really dirty (Image 1). I have increased the whites in Lightroom so you can see better the dust (black dots).
2. Camera Sensor air Blower
First thing you need to do is to remove the lens from your camera and try to use a camera sensor air blower. Try to blow air in the whole sensor surface by facing the camera towards the ground and blow from underneath pointing up. Don’t try to blow air with your mouth, you’ll make it worse!
(Sensor Cleaning – Image 2)
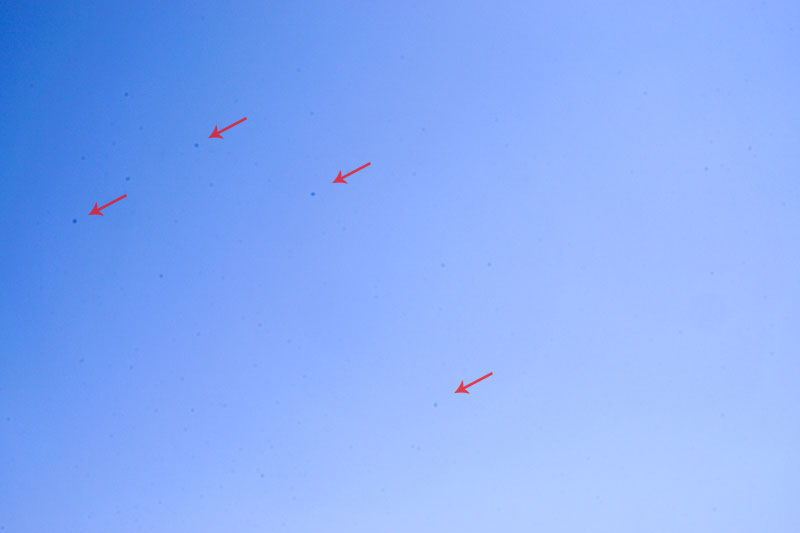
The camera sensor air blower worked but didn’t completely remove all the dust (Image 2). Most of it remained stuck on the sensor. That’s why we need to clean it with a cleaning swab and the proper liquid. Check it out in the following step.
3. Camera Sensor Cleaning Fluid & swab
(Using the swab on the sensor – Image 3)
You should be really cautious cleaning your camera with a sensor cleaning solution. If you think you can’t do it, we would recommend you to visit a local shop and ask someone to do it for you. Here are the steps you need to follow:
- Read the product directions before using it.
- The swabs should be really clean (don’t use them if they touch any other surface).
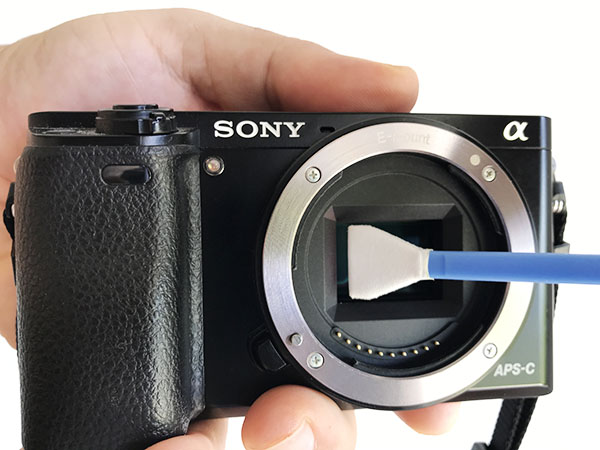
- Use 1-2 drops of liquid on the swab and move it from edge to edge of the sensor by placing it softly and applying some pressure (gently).
- Never place liquid on the sensor, only on the swab!
- Start from the left side and work your way over to the right. Flip the swab and go back the other way (from right to left – Image 3).
- Make sure you won’t blow air with your mouth!
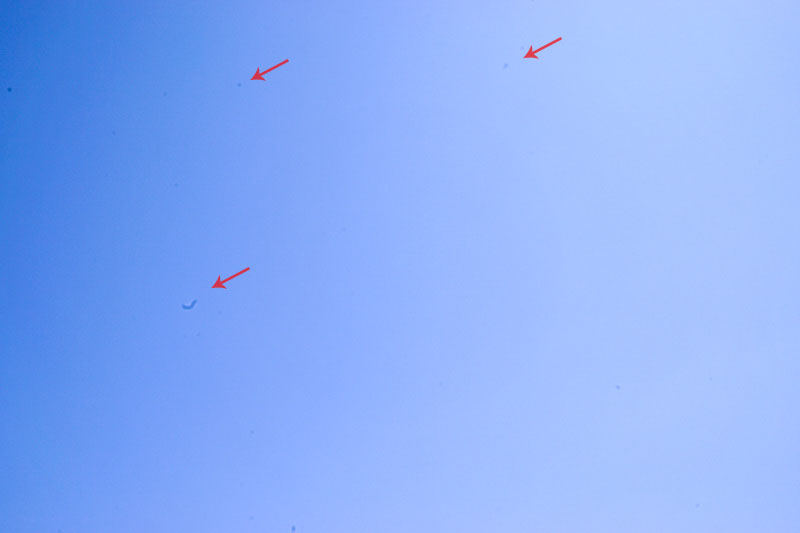
(Sensor Cleaning – Image 4)
The liquid did work pretty well (as you can see in Image 4) but dust still found the way to to get in the sensor again before mounting the lens back on my camera! So, I had to use the air blaster once again.

(Sensor Cleaning – Image 5)
By using it again, my sensor now is clean (Image 5) and ready to go out and take some awesome photos!
Camera Sensor Cleaning Tools
Sensor giottos air blower
Sensor Cleaning Kit for APS-C Cameras
Sensor Cleaning Kit for DSLR Cameras
Tips on How to Keep your Camera’s Sensor Clean
- Don’t change lenses in a dusty or windy environment.
- Make sure your lenses are kept in a clean space and have their lens cap on.
- Try to use the air blaster first before you try any wet cleaning methods.
- Keep your camera in a clean case or bag.
Summary
Cleaning your camera is easy. All you need to do is buy the proper tools and learn the best method on how to do it. Of course if you’re unsure of what you’re doing, ask a friend who’s more experienced to do it for you or head over to your local camera store. Let us know which camera cleaning kits you use in the comments section below.
If you need more photography tips, follow us on Facebook or Instagram.


