In the past few days, I was really excited to be able to see and capture the comet #neowise or C/2020 F3. As I was trying to find the right settings, focal length, and understand the 400 rule, I bumped into a Kelbyone photography course by Gabriel Biderman.
This guy explains so well how to take photos at night! Digital cameras see much better at night than our eyes do. This is when we can become really creative and play with time and long exposure shots!
Save up to 20% on photography courses by using my Kelbyone coupon code.
Here’s what this photography course contains:
- Gear guide
- Scouting locations
- Assessing the situation
- Focus and exposure
- Playing with time and movement
- Discovering new locations
- Dark sky gear setup
- Finessing the composition
- To shoot the moon, or not?
- Star trails and star points
- Fireworks
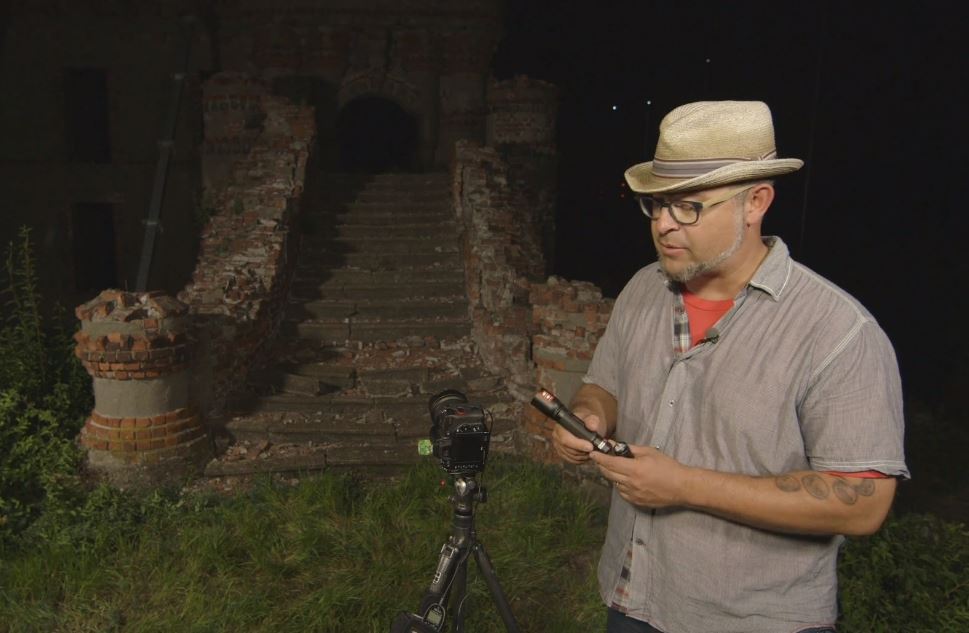
Gear Guide
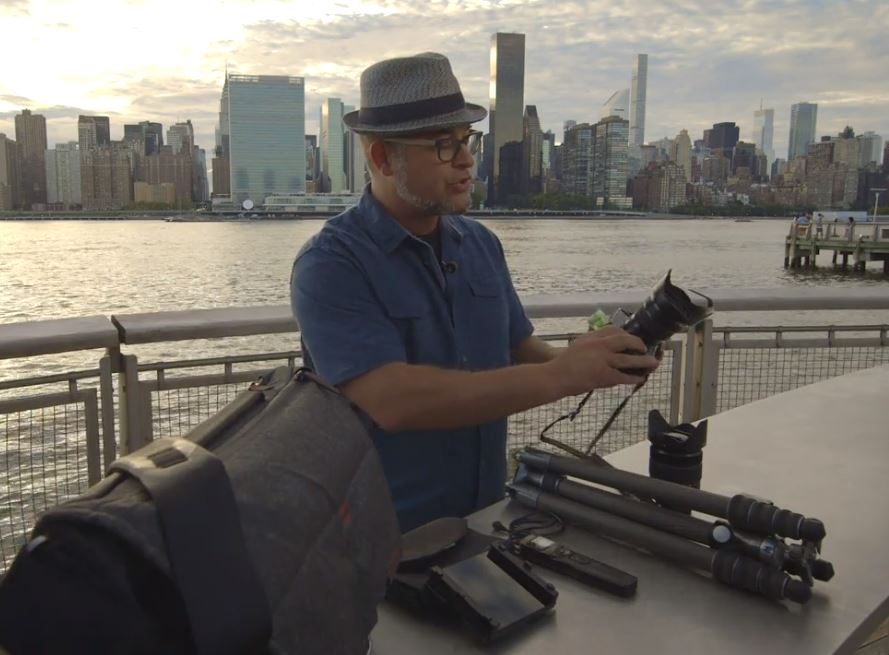
Gabriel explains the essential gear you need to capture the night sky. He talks about the camera he uses, which lens is suitable (prime and zoom), the difference between aluminum and carbon fiber tripods, cable releases for long exposure shots, filters, and camera bags.
If you notice, he uses a Fujifilm XPRO 2. This is the previous model from the newest XPRO 3 and shows that even an APS-C sensor can accomplish great results at night. Of course, the bigger the sensor, the less noise you introduce to the image at higher ISO values (6400, 12800, 25600, etc.)
Scouting locations
Scouting is mandatory for night photography! Every good night photographer has to be a good scout. Location is everything and especially to know when the time is right to get a great shot.
Also, studying where the light is falling is super important. In this course, you will learn about the twilight time. After sunset and the golden hour, we transition to the blue hour which still produces a magical light.
During the blue hour, civil twilight starts. This happens when the sun is six degrees below the horizon. Also, when the sun reaches 12 degrees, we enter nautical twilight. We can still see the horizon, there is enough light in the sky and the brightest stars and planets are just visible in the sky.
Assessing the situation
Composing an image is really fascinating. Most people who take photos, don’t really work on their composition and that’s why they get mediocre results. Gabriel teaches how to compose an image using initially a wide focal length.
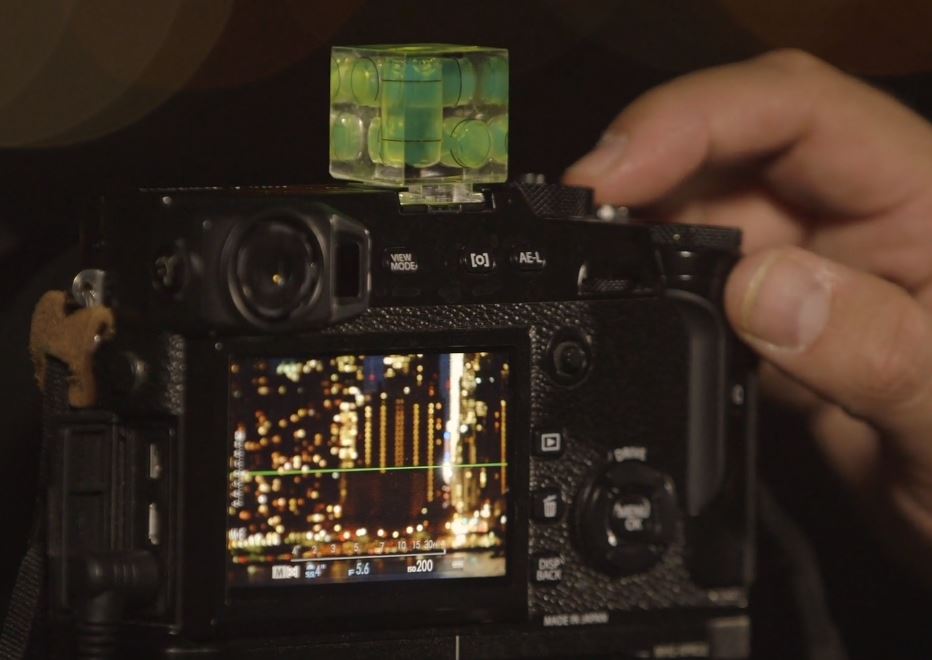
He uses his all-in-one zoom lens to understand what’s the best focal length for his situation. He uses the lowest ISO and also the live view histogram so he can control and not crush the shadows too much.
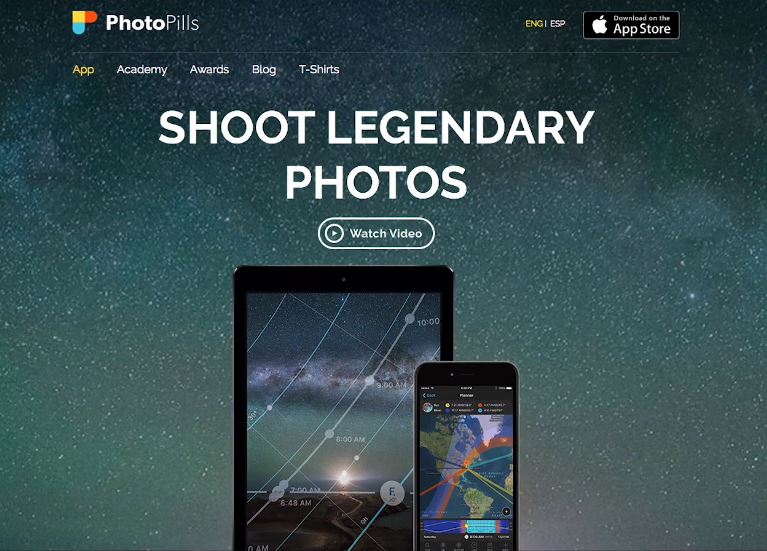
A great app to use for the night sky is PhotoPills and it is available for the iPhone and iPad. This app shows you exactly where the sun is and what’s happening at the specific time you open the app (i.e. if it’s sunset, blue hour, civil twilight, etc.)
Focus and exposure
During the day it’s easier to focus on our subject but what happens at night? Focus can be difficult at night and most of the time autofocus doesn’t work well in dark areas.
There are two ways to control focus at night. You either can switch to manual focus or put the autofocus points on to an area that is very contrasty (it has darks and whites) and have it lock on to that.
To get the right exposure, Gabriel explains the exposure triangle (Aperture, Shutter Speed, and ISO). This way, you will get a better understanding of how to use manual mode and choose what is YOUR priority at night time so you can get the right exposure.
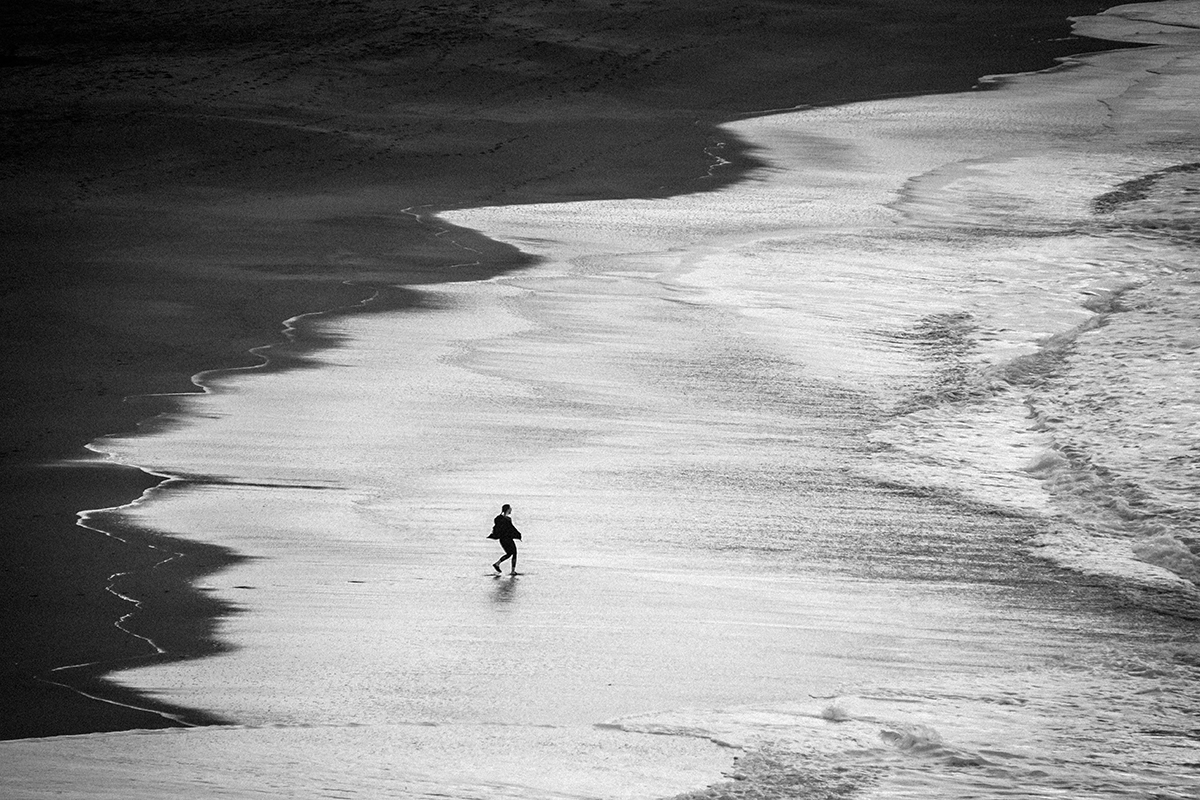
Playing with time and movement
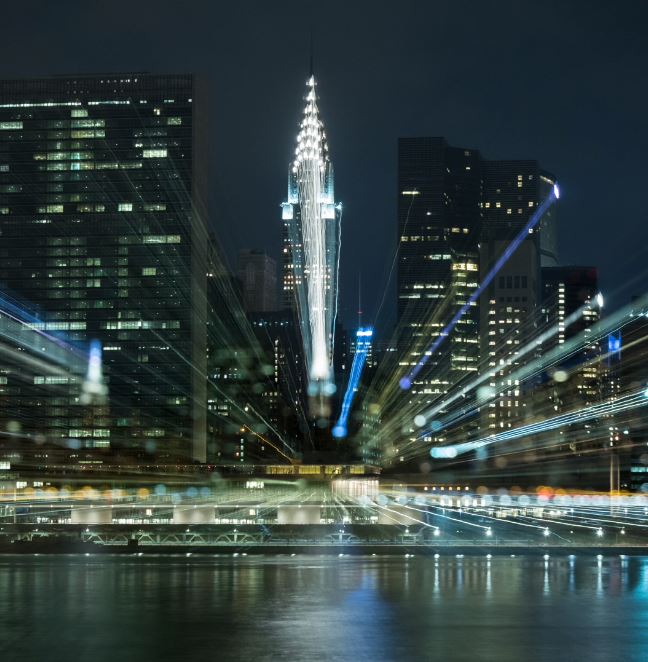
This is something I didn’t know about. So, Gabriel explains, as you are taking a long exposure shot, you can zoom in or out DURING the time your camera is taking the shot. This way you can create something like the photo above!
Discovering new locations
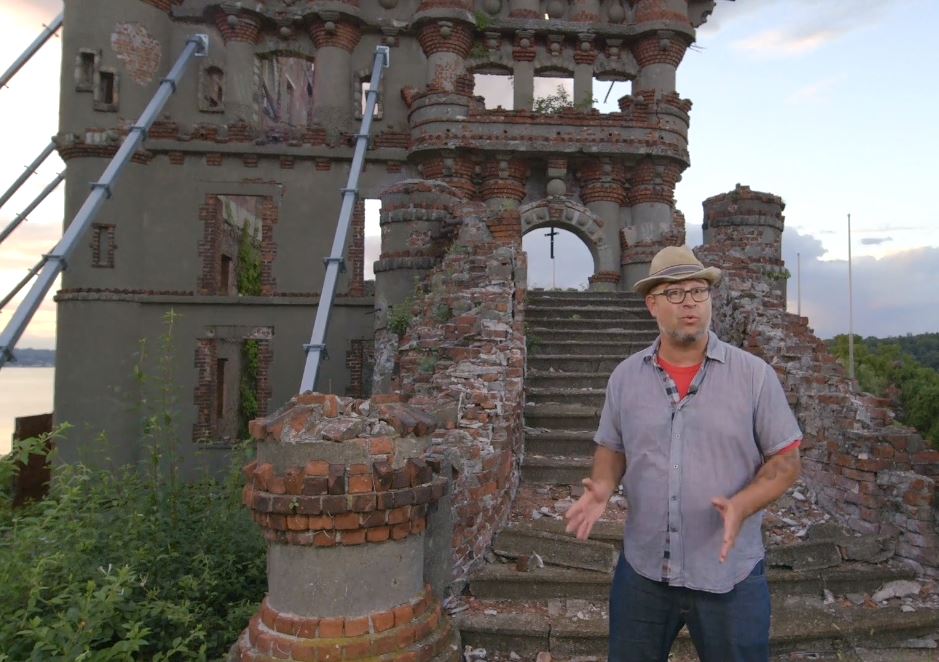
Right in the middle of the Hudson River, at Pollepel Island, you can find the Bannerman Castle historic ruins. The castle was built in 1901 by Bannerman, Francis VI. That’s a great location for night photography!
Amtrack train rides right along the river. In fact, Gabriel says that one of the most beautiful train rides you can take in the world is the one that hugs Hudson and goes all the way up to Canada. Get a window seat and just daydream and gaze upon all the beauty that’s out there!
Dark sky gear setup
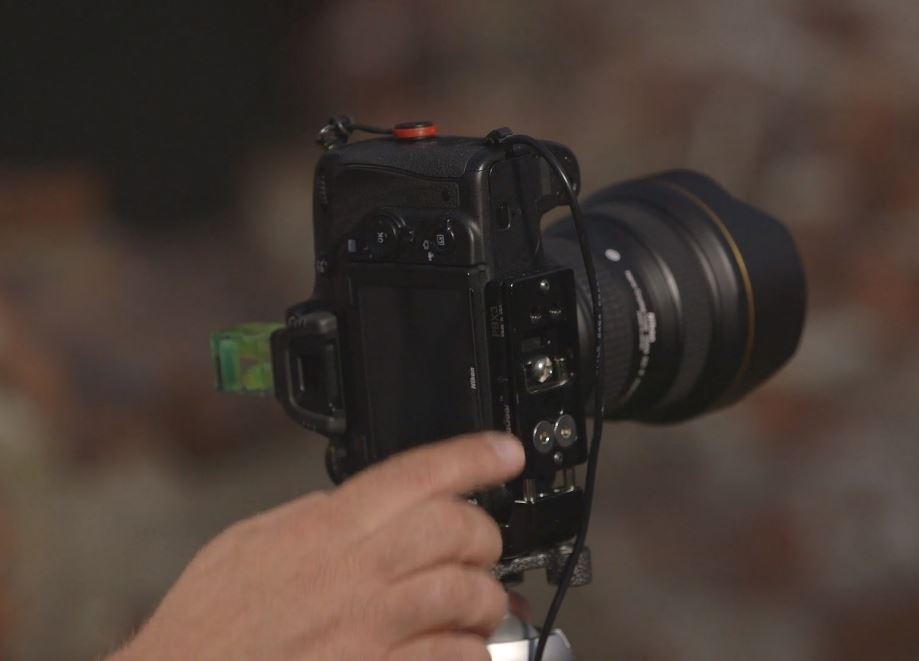
The darkness definitely challenges our equipment. Gabriel explains how you can see better at night through an optical viewfinder from a DSLR camera before turning it on.
He uses the Nikon D750 with the 14-24mm f/2.8 Nikkor lens and an L bracket so he can easily go from vertical to horizontal and get the shot he wants.
Another essential camera gear for night photography is the Case Relay System by tether tools. That system lets you power your camera continually using external batteries, giving you enough juice to shoot the whole night and costs around $100.
Finessing the composition
In this part, Gabriel explains again with more detail on how to get the right exposure and focus when it is completely dark (there is no light in your scene you are photographing).
He uses a very cool and powerful flashlight to light up the scene he’s photographing.
To shoot the moon, or not?
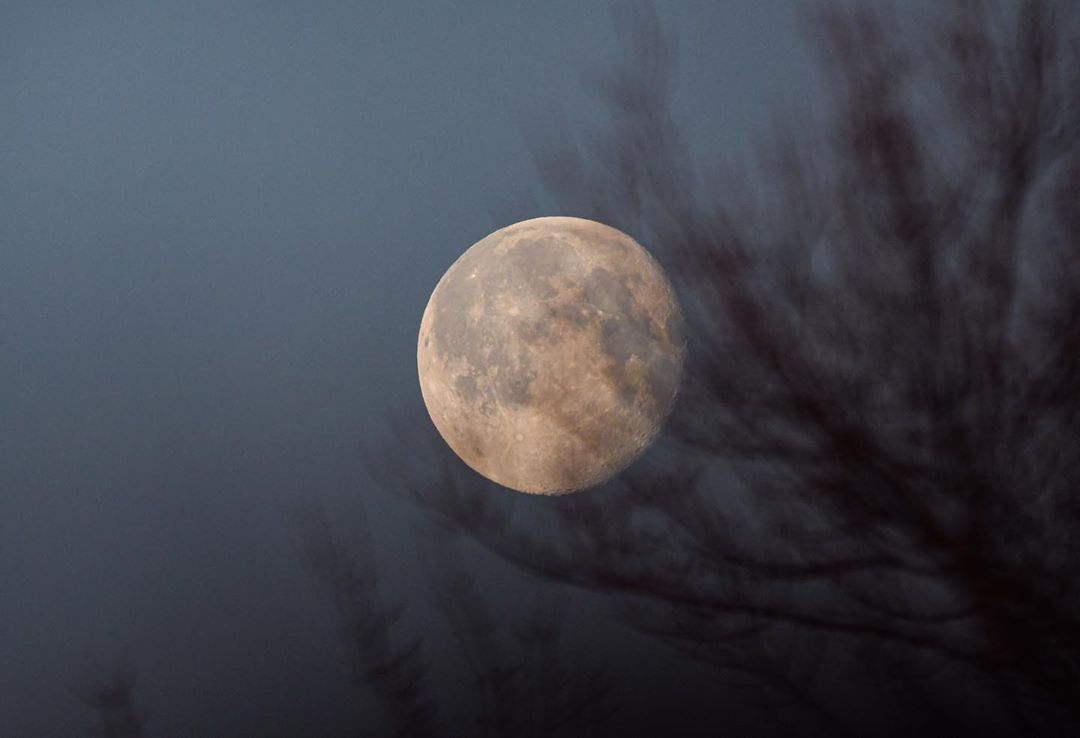
The moonlight is reflecting the sun’s light and it can be a very powerful light source. There are many phases of the moon.
Some night photographers prefer to shoot without a moon (that’s when we can see the most stars and the Milky Way) but the easiest and for a beginner night photographer, shooting under the full moon can be the best place for you to feel comfortable at night.
Most lenses go beyond infinity. Gabriel here shows a trick on how to focus when your scene is a landscape using a DSLR camera and you can’t use a flashlight at all. Also, he reveals the best settings to capture the moon!
Of course, the new mirrorless cameras have a new technology called “focus-peaking” which gives you the ability to see through the EVF or your LCD screen colored dots (mostly white, red, or yellow – depending on what you select) using an edge-detect filter. The more bright those dots appear, the clearer and in-focus your scene will be.
Star trails and star points
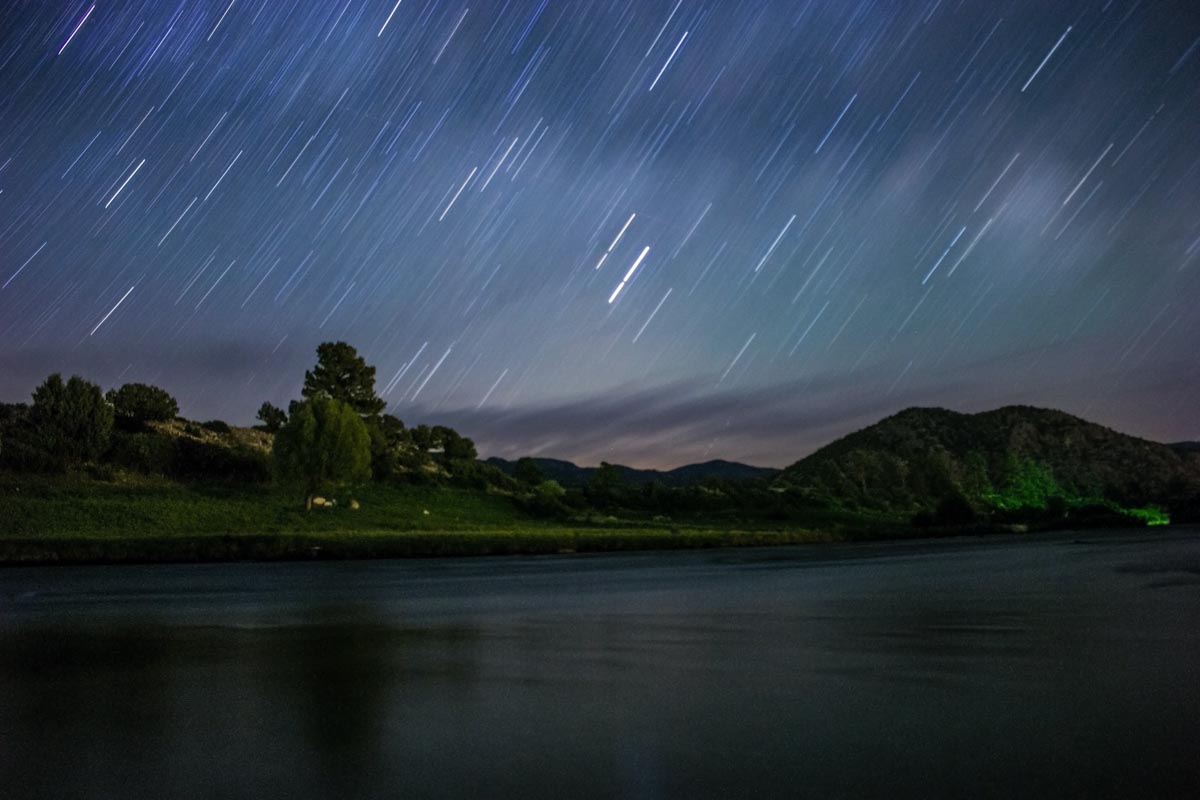
For star point photography, you need to use the widest in focal length and fastest aperture lenses you own. The darker the sky, the more stars we will see.
In this section of this photography course, you will get the idea of how to calculate the shutter speed using the 400 rule. For example, if you have a 14mm lens, 400 divided by 14 is 28,57. This means if you go past 28 seconds, you’ll notice movement on the stars.
For star trail photography, you have to go beyond the 30 seconds (most cameras’ shutter speed limit) using BULB mode with an intervalometer. We talk about taking long exposure shots from 5, 15 minutes to two hours!
Gabriel explains how to get 12 exposures of 5 minutes each with a 1-second break each time and stack all images together in Photoshop in post-process.
Fireworks
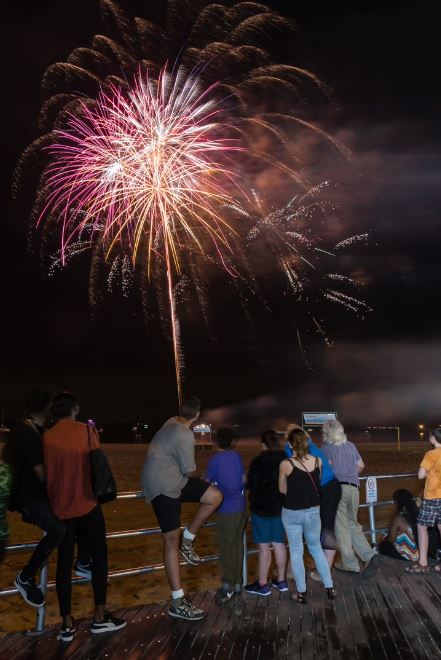
How to get the best photos of fireworks? Well, again, the first thing you need to do is scouting and finding the best place to set up your camera.
Often times fireworks are shot on, around, or by landmarks. So, putting the landmark right next to where the fireworks are, will make it even more energetic. Also, fireworks often shot on the water. This is a chance to get wonderful reflections in the water.
When you take photos of fireworks, make sure you include more elements in your photos. Including people in your images will give you that sense of place and space.
Fireworks are bright, so you need to lower your ISO to the minimum. Set your aperture at f/8 to f/11 and go for a 4-8 second exposure shot. Use a cable release each time so you won’t introduce camera shake. The best way to set your focus is manual. You don’t want your camera to hunt to find focus.
How to sign up for this course?
To watch the full Night Time Photography Techniques click here.
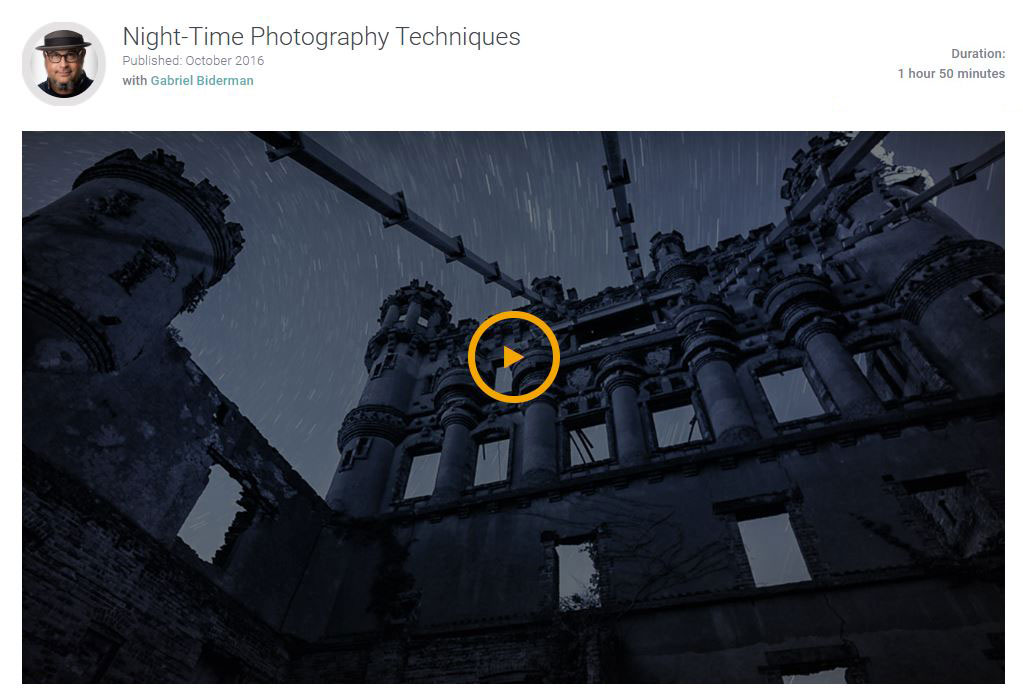
(Duration: 1 hour and 50 minutes)
Save up to 20% on photography courses by using my Kelbyone coupon code.