Photo Editing Beginners Tutorial by Sara Mantovani.
There are many software programs for photo editing. The most popular is the Adobe Lightroom CC. This program is used by professional photographers to correct and enhance images.
In this article, you will learn how to edit your photos in Lightroom CC for beginners. The best way to edit an image is by using RAW files instead of JPGs. Select this via the menu in your camera settings.

The RAW files contain more information than JPG files and they are easier to edit in Lightroom. JPG files are compressed and ready to be used (Social media, prints, etc.).
To show you the basic effects of each tool in Lightroom, I have downloaded a RAW image from https://www.signatureedits.com/free-raw-photos/ and went through these 5 steps.
How to Edit Photos in Lightroom CC for Beginners
- Crop and Rotate
- White balance
- Exposure and Contrast
- Vibrance and Saturation
- Sharpness
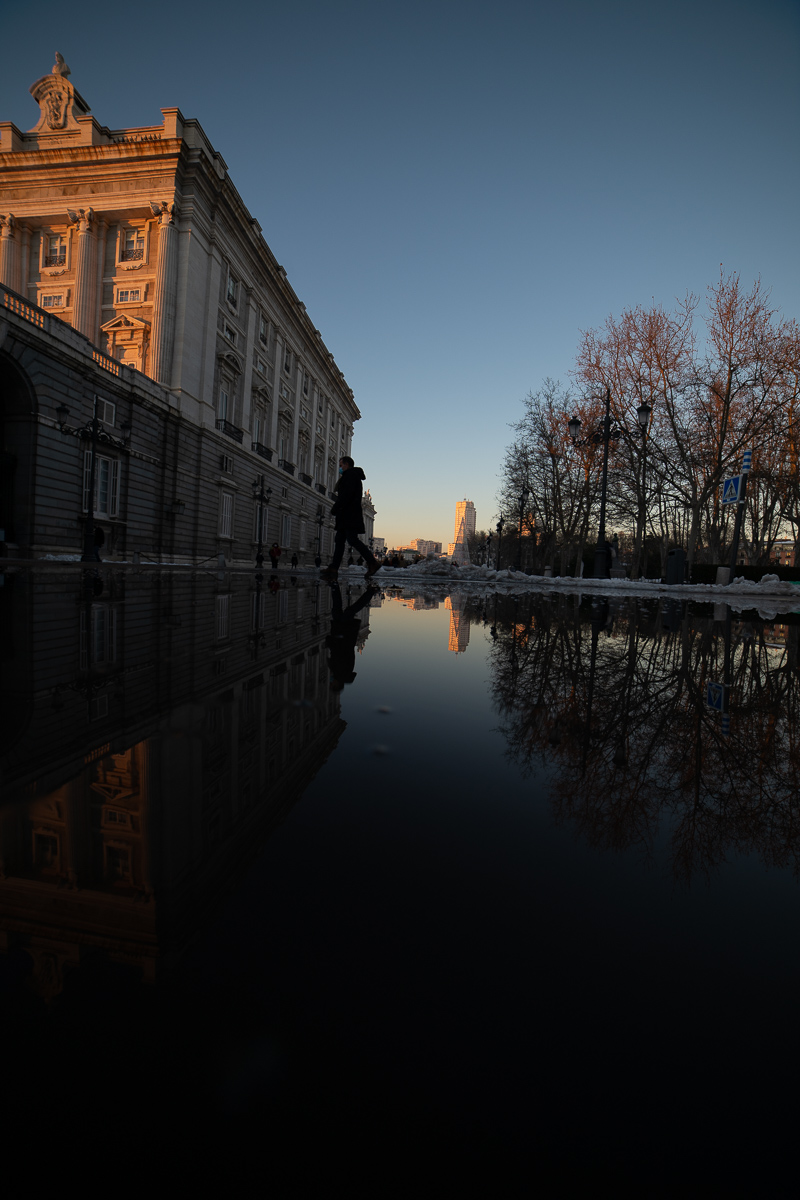
1. Crop and rotate
For me, cropping is always the first thing to do before you start editing a photo. It is always better to frame your shot the best possible way, but if necessary, cutting and straightening a photo is a fundamental step.

To do this in the “Develop” section, click Crop Overlay (R). The Crop feature allows you to cut unwanted elements, change the aspect ratio in your image, or change the composition and focus more on the details.
To make the horizon straight, use the “Angle” tool.
2. White Balance
White balance is essential in a photo and can be adjusted during the shooting or in post-production time.
In photography, white balance is adjusting colors and tones (warm/cold) to make them look natural in images.
Many photo editing programs, including Lightroom CC, allow you to change the white balance automatically based on the brightness of the photo was taken.
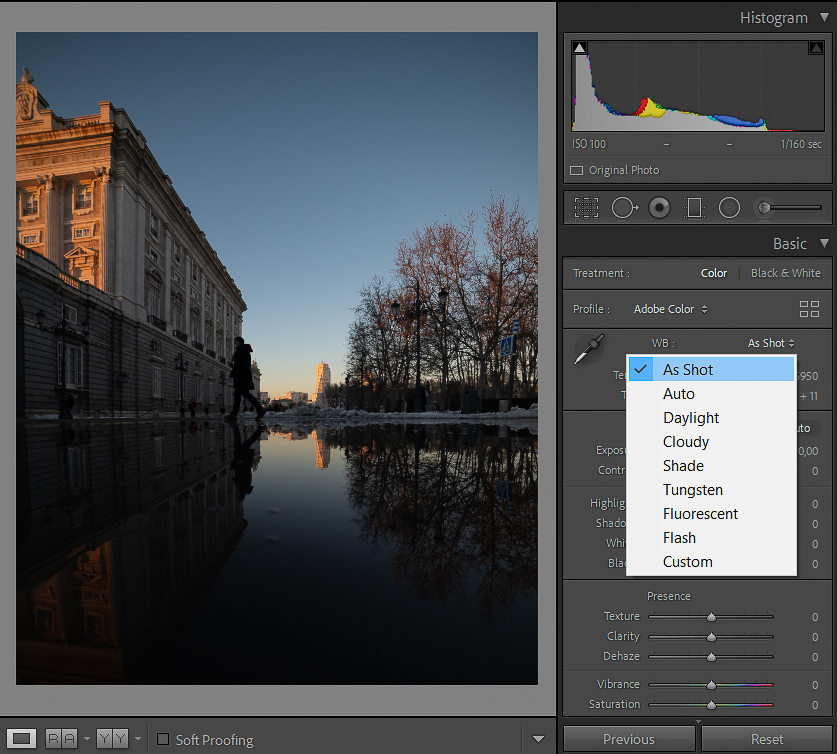
To access these settings, simply go to the “Basic Settings” section and select one of the options in the white balance tab.

You can also customize White Balance to your taste (add warm or cold tones through the different options), but if you are new choose “As Shot” or “Auto”.
Note: Photos taken in RAW format can be edited easier than those taken in JPEG.
3. Exposure and Contrast
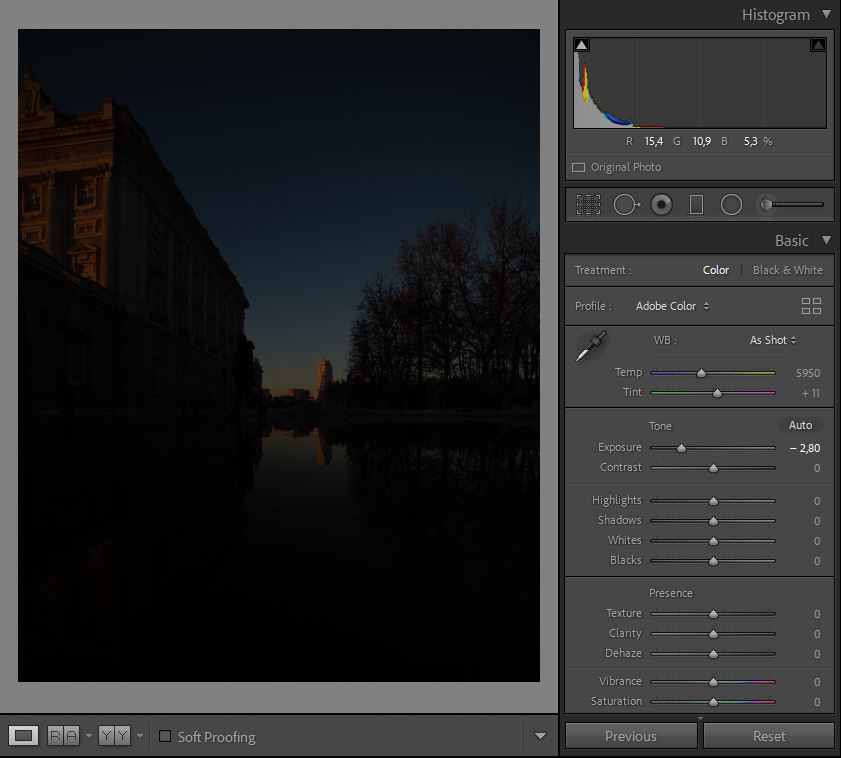
Another very important step is to adjust the exposure and contrast. In this case, a very important tool in the “Develop” section comes to your aid: the “Histogram”.
The left-hand side of the histogram contains the shadow data from the image, the middle contains the midtones, and the right-hand side has the highlight information. The higher the peaks on the histogram, the more of that type of information it contains.
Below I am showing an example of the typical histograms of an overexposed photo and of an underexposed one.
Overexposed example.

Underexposed example.
It is always better to avoid having peaks to the right or left. Try to get a more homogeneous curve. However, it all depends on the conditions in which the photo was taken.
In our case, the photo was slightly underexposed and so I increased the exposure.
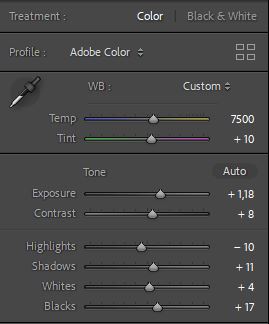
Contrast is also very important. It is the scale of difference between black and white in your photos.
It is the differing tones of black, grey, and white; without which there wouldn’t be any differentiation between light and dark.
Personally, I always like to add contrast to a photo, because I think it makes it more alive.
But it is also a matter of personal taste!

4. Vibrance and Saturation
The fourth step is to adjust the Saturation and Vibrance of a photo.
Color saturation is the intensity and purity of color as displayed in an image.
Vibrance is a smart tool that cleverly increases the intensity of the more muted colors and leaves the already well-saturated colors alone.
![]()
Again, I think it is subjective. Some may prefer less saturated photos and others the opposite.
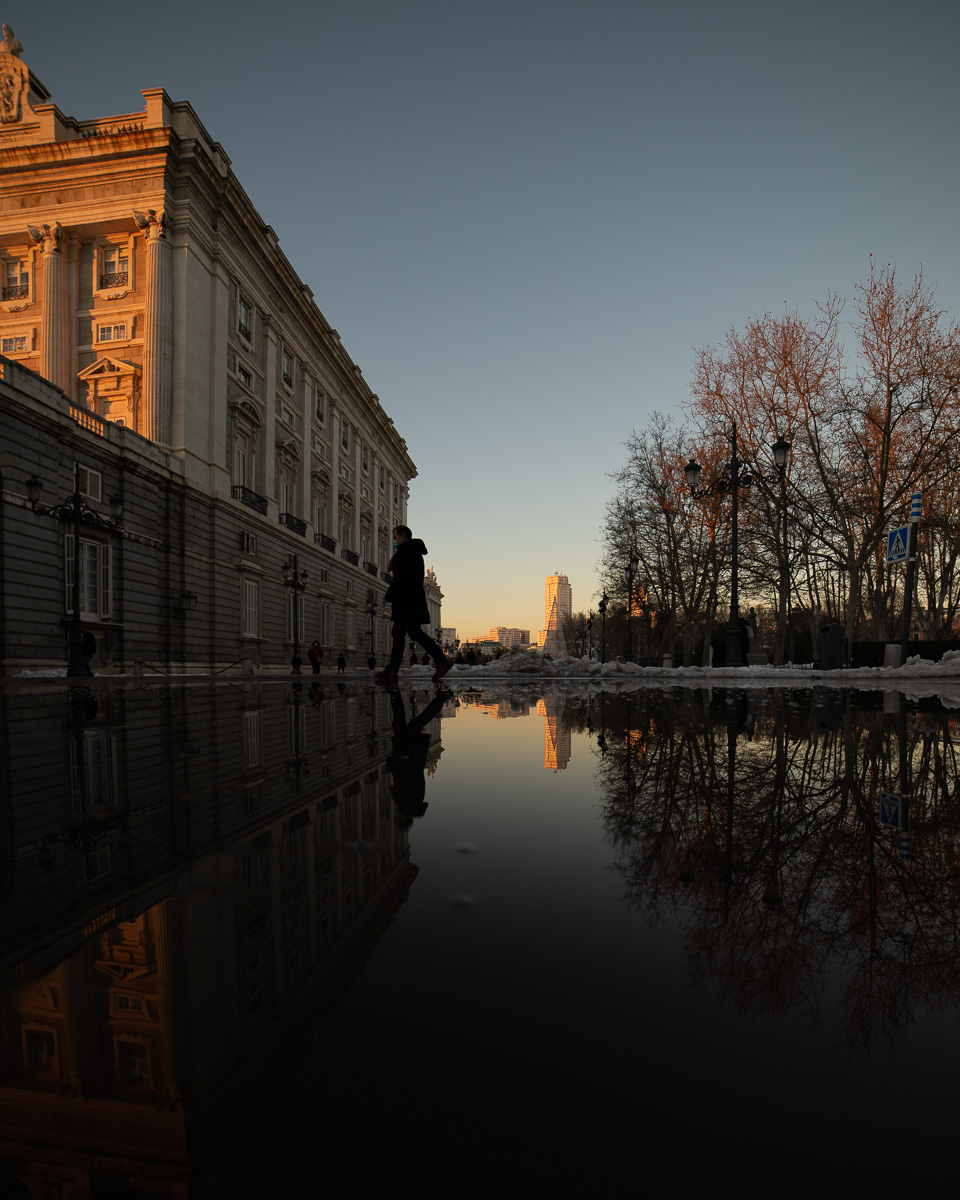
In this case, I increased the vibrance and saturation of the photo to accentuate the orange of the sunset reflected on the palace.

5. Sharpness
As the last step, we have Sharpness. Sharpness describes the clarity of detail in a photo and can be a valuable creative tool for emphasizing texture.
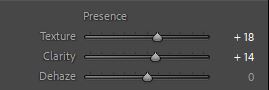
In this photo, I used the “Clarity” and “Texture” tools to increase the details of the photo.
Again, you are free to edit the photo as you prefer.
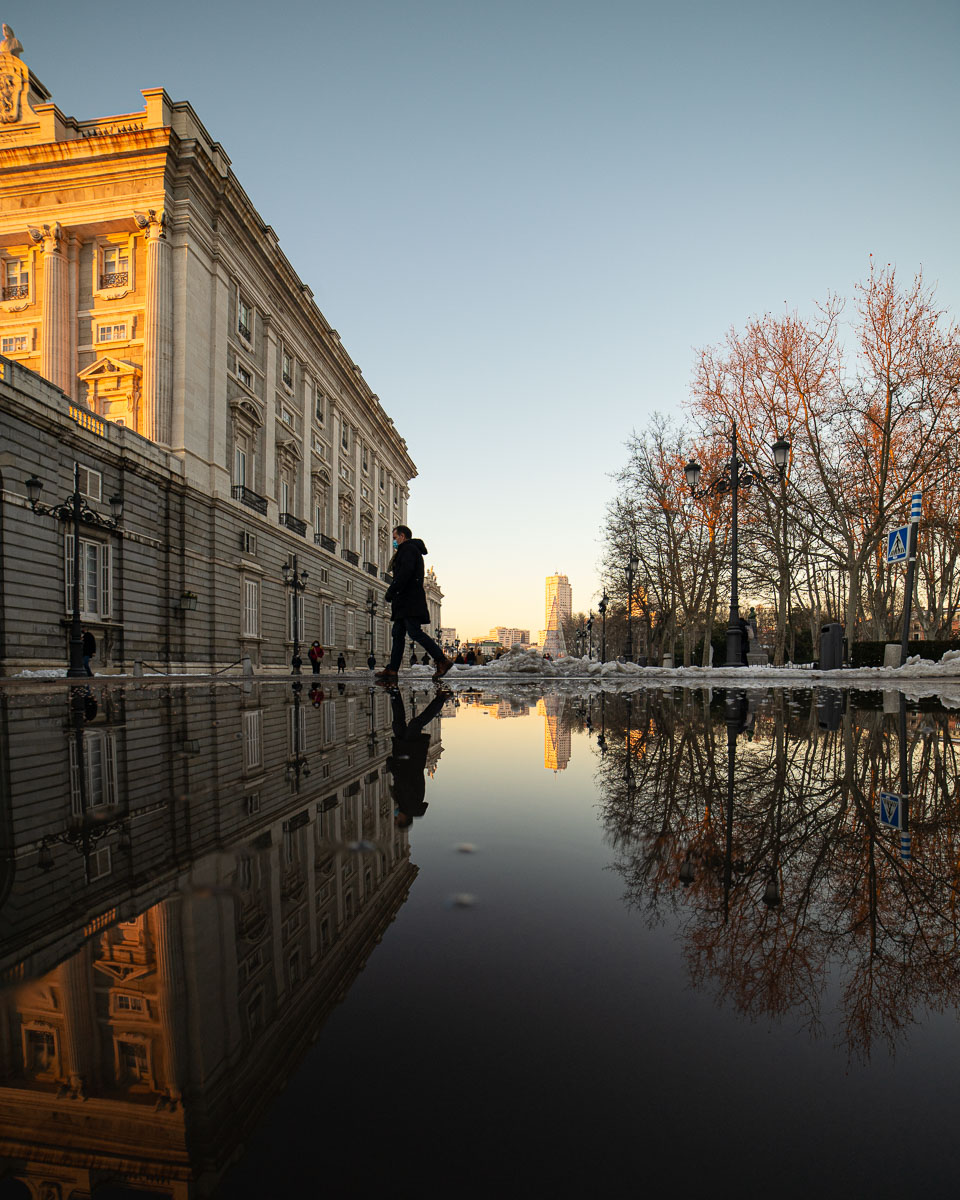
Et voila! This is the result! Simple, right?
Before
After

Of course, these are the basic tools to edit a photo, but I assure you that the possibilities are endless!
Photography is made of rules, but it is also art. For this reason, I believe that everyone must feel free to express themselves through photography.

In this tutorial, I simply wanted to give you some tips about the main features of Lightroom but then it is up to you to experiment!
Thank you for reading this article and I hope you enjoyed it! Follow me on Instagram or visit my blog for more tutorials and articles related to photography!
Pin this tutorial on your Pinterest Board!