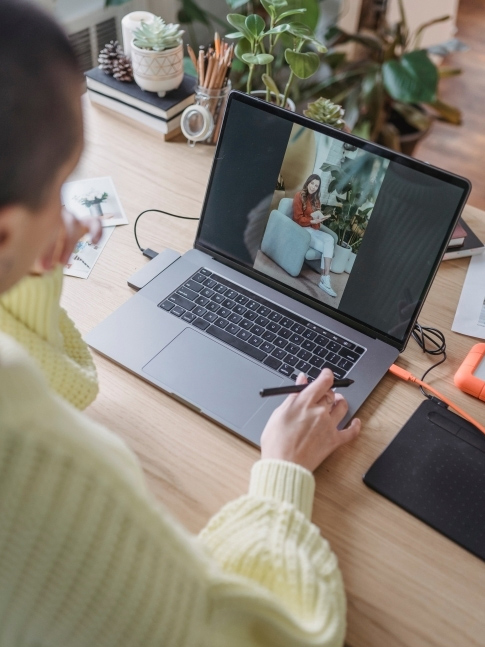
1. What is a Home Photography Studio?
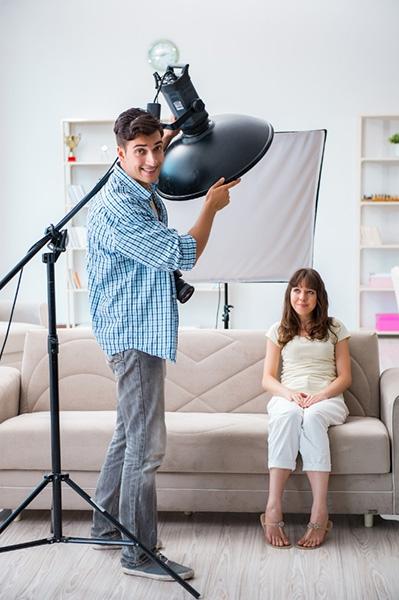
Photography studios are essential these days. As businesses and corporations start to flourish, all kinds of photography studios are growing in demand. However, professional photography studios need quite a lot of open space.
Home photography studios aim to achieve professional results within a smaller space and budget. They are becoming more popular due to the increase in home-based businesses and services. Not everyone can afford the time and money to run back and forth to a professional studio for every picture!
A home photography studio can be established to save the time and cost required to rent a professional studio. If set up correctly, these DIY photo studios can also be leased commercially.
2. Can You run a Professional Photography Studio at Home?
You can certainly run a home photography studio, but first, you’ll need to understand the basics of building one.
In addision, you’ll need to set it up in accordance with the space that you do have. Not all home studios look the same, as each studio needs to be adapted to the studio owner’s needs, wants and space.
Maintaining professionalism is critical to running your home photography studio smoothly. Although it may be home-based, you must treat it as if it’s world-class. This means communicating with your clients effectively and marketing your studio correctly.
Despite all the limitations, a DIY photography studio at home is 100% possible. We will discuss how to achieve it today.
3. How Much Space Do You Need for a Home Photography Studio?
To answer how much space you need to set up a home studio, it highly depends on what you need the studio to do.
- A bench within a 500 sq. ft. studio space could be enough to take photos for an eCommerce business that sells small goods.
- A space of at least 1000 sq. ft. is best for home photography studios. This space will work for various purposes, such as product photography, fashion photography, and more.
In real life, this would ideally mean dedicating an entire room to the studio. Many people do this with their guest bedrooms, as those rooms have plenty of space.
4. How to Set Up a Home Photography Studio
The following sections elaborate on the steps required to set up your home photography studio. Just make sure that you don’t skip any step while building yours.
4.1. Choose Your Studio Space
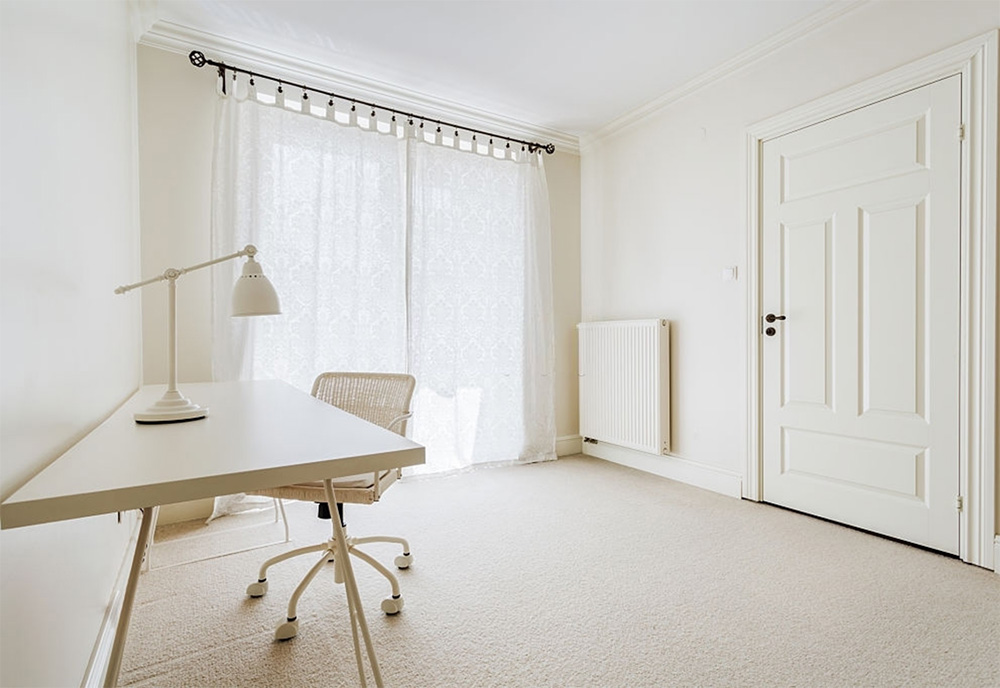
To choose your studio space, you must identify your needs.
Questions to ask yourself:
- What will you use the studio for?
- Who is going to be your client?
- Is your studio dedicated to one niche like eCommerce?
- Would you build a studio for a wide variety of purposes?
These answers will help you determine the kind of lighting, props, and other equipment needed for your space.
If you plan to work with outside clients, use at least 1-2 rooms in your house. There needs to be sufficient seating space and studio space.
Some people even use their garage, which is also a nifty idea.
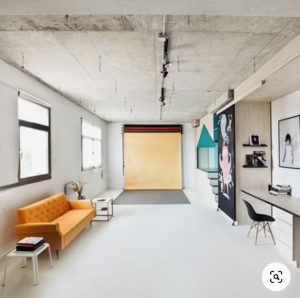
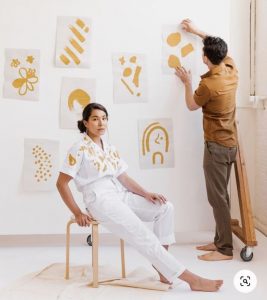
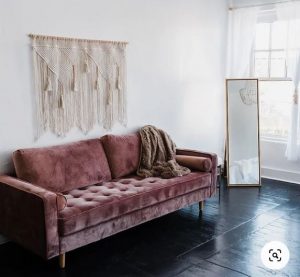
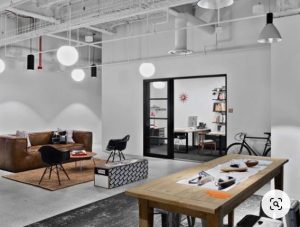
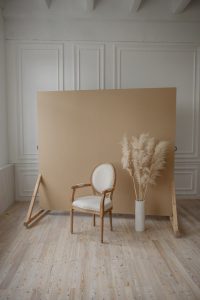
4.2. Make a Photography Studio Design
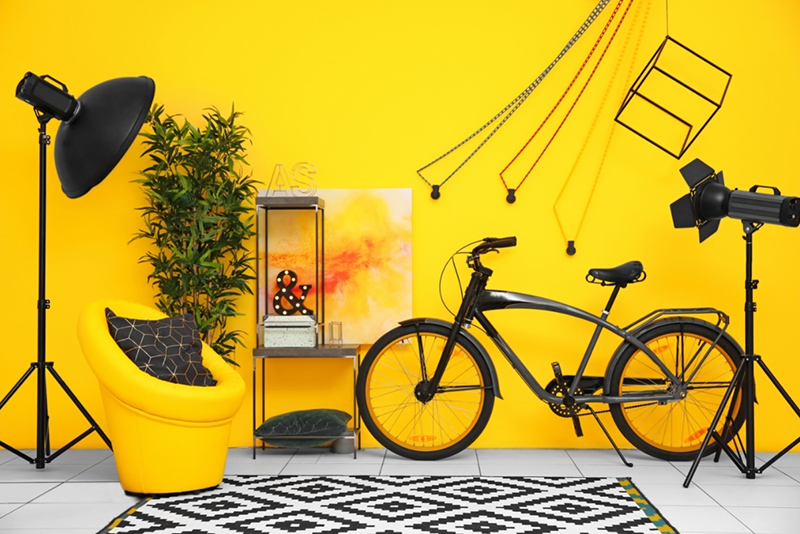
Photography studios are as much about aesthetics as it is about function. A well-designed studio is:
- It is pleasant and comfortable to work in.
- It serves as inspiration for both photographers and clients and makes the best use of space.
Hiring an interior designer may not be feasible for home photography studio owners, but that doesn’t mean your studio has to be any less.
You can look up photography designs online and use those designs as ideas for your home photography studio. Here are a few:
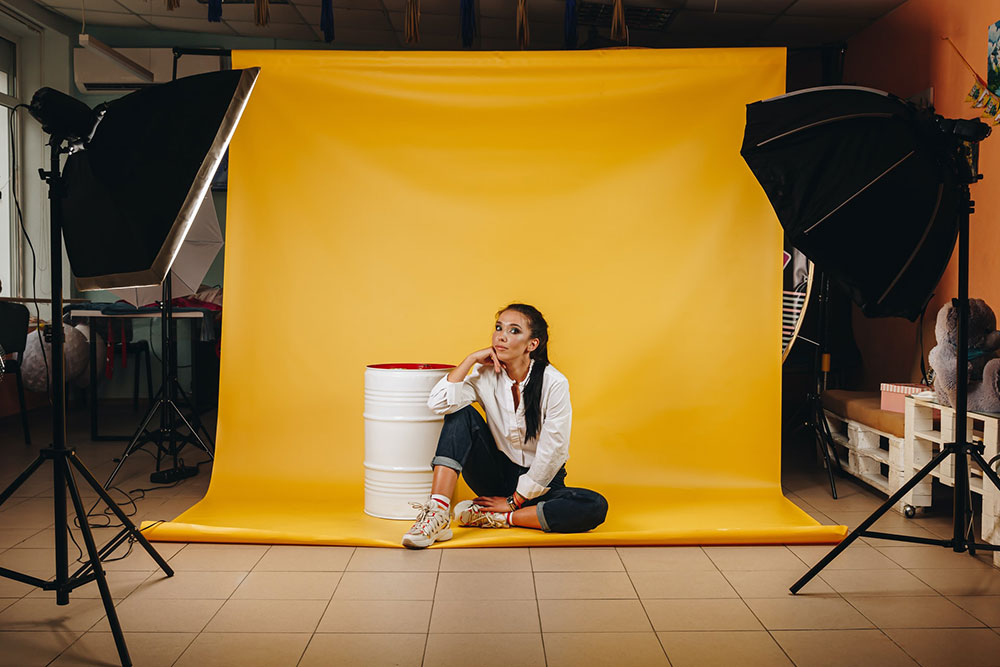
4.3. Backdrops for Photography
There are a wide variety of backdrops that can be used for photography. Depending on your goal, you can use one or multiple.
The first thing that you’ll require is a stand. Backdrop stands will enable you to hang backdrops of any size, color, and material. These stands come in different sizes, so choose one that fits your studio well.
You could buy backdrops in white, black, and other colors along with the stands. It’s always good to have options, and backdrop materials are important, too.
Some backdrops may be textured, some may not, and some may be light and wrinkle easily.
It’s generally good to use thick, matte-textured backdrops. These backdrops don’t reflect light easily and don’t crease.
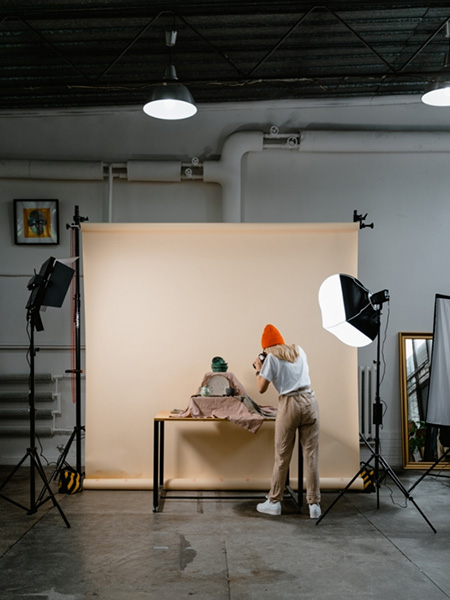
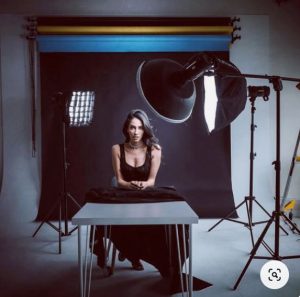
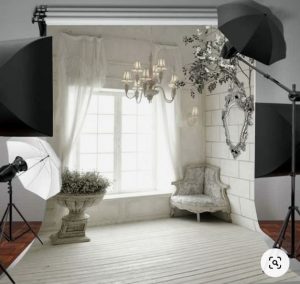
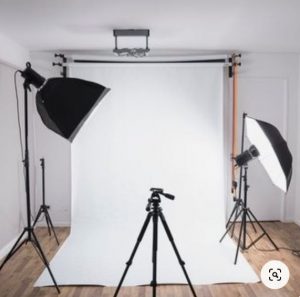
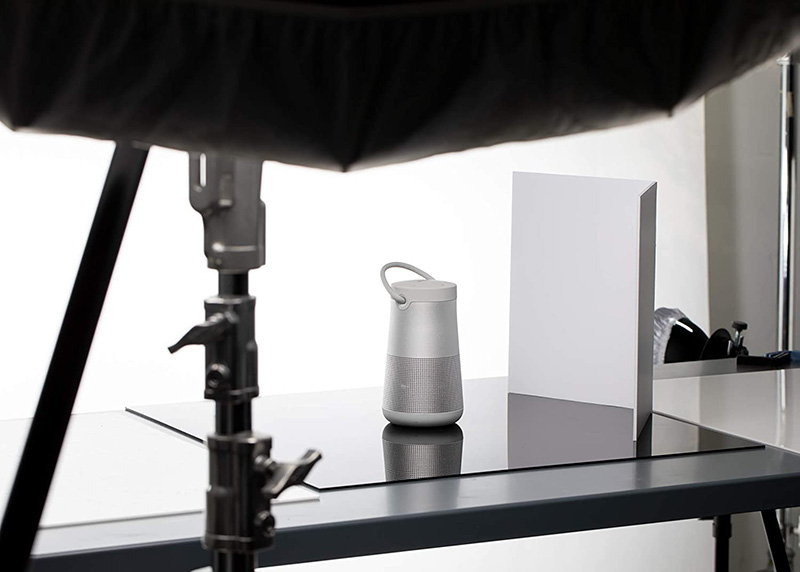
4.4. Get Suitable Studio Lighting Equipment
Studio lighting is undeniably one of the most important elements of a photography studio. Without a decent lighting setup, your studio will always be incomplete.
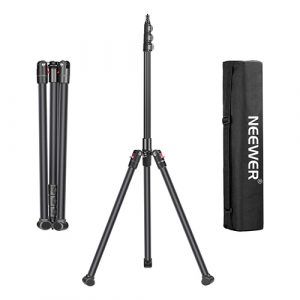
Solid and adjustable lighting stands are must-have home photography studio equipment. This is one of the places where you could invest a bit more, regardless of it being a home studio.
Flexible, rigid, and fully adjustable stands will serve you well for a long time.
Home studios have advantages and disadvantages in terms of lighting. Smaller spaces require less power, but they also lead to higher reflections.
Not to worry, as this can be mitigated with the use of diffusers.
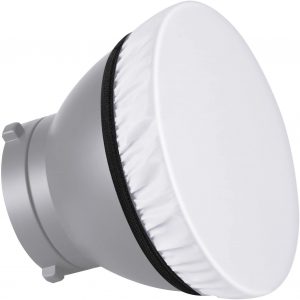
Diffusers help dim reflections and spots with harsh lighting. In professional studios, both reflectors and diffusers are used. You may not need reflectors in home studios.
This highly depends on the number of lights you use and the power of each light used.
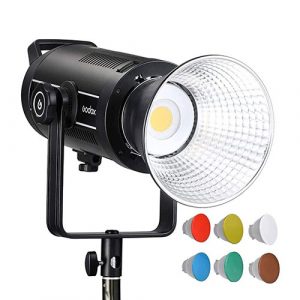
Led lights, flashes, strobe lights, fluorescent lamps – there is a lot you can use. Some led lights may be enough if you’re aiming for general photography. For high-quality photography, using flashes and lamps can help.
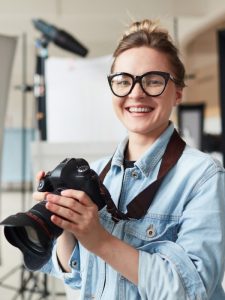
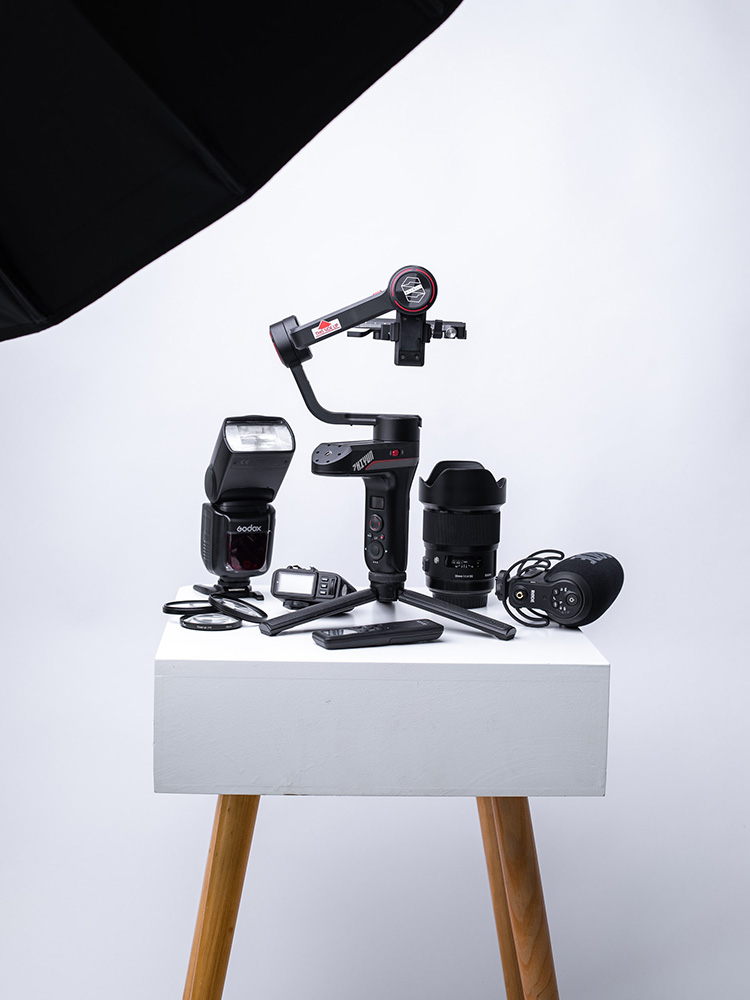
4.5. Choose the Perfect Camera Gear
Camera gear is another way an average home photography studio can become a world-class one. In fact, professional photography studios highly depend on the camera to enhance their setup.
There are plenty of cameras and accessories to choose from. Whichever brand you choose, ensure that the model has high reviews. You can skip on purchasing expensive camera lenses later.
Here’s what you need to buy:
- Camera—Start with an APS-C and then upgrade to a full-frame camera. A full-frame camera can also be found in the used market for under $1000.
- Lenses – Home studio owners may find expensive lenses to be a dent in their budget – which is okay! The stock lenses that come with all good cameras serve pretty well.
- Camera tripods help mitigate micro-vibrations, which can result in a hazy image. They also have extra benefits, like maintaining consistency of camera angle and faster workflow.
You can use the stock lenses until you finally save up to buy better ones. Some e-commerce photographers stick to stock lenses for almost their business. It gets the job done without compromising quality.
However, better lenses may be needed to capture images that help you define your brand or product.
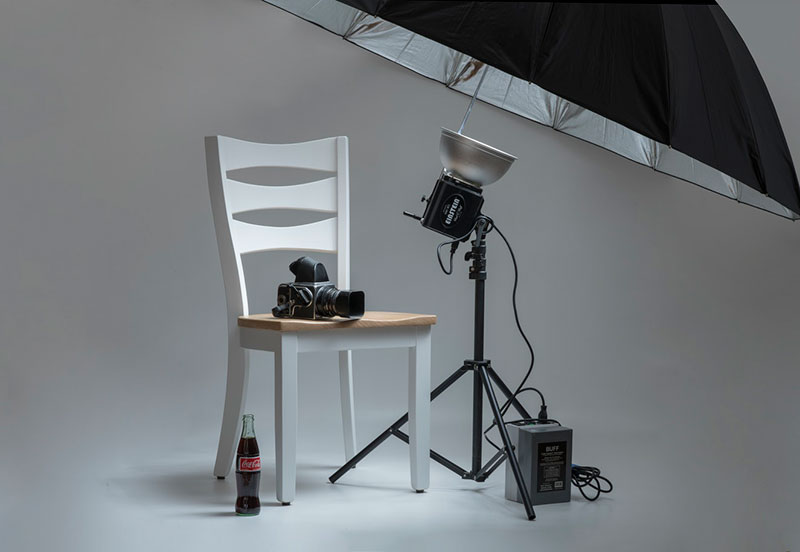
4.6. Select Great Photography Props
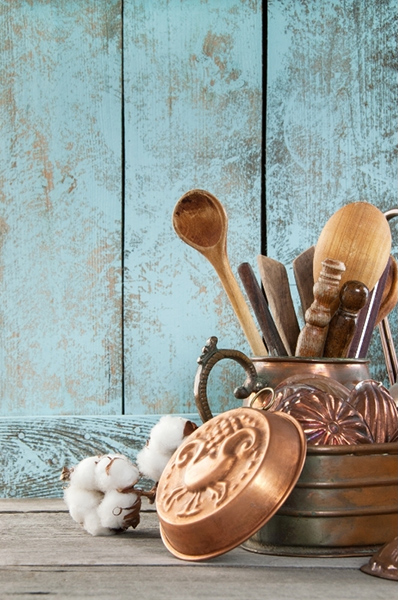
Is your niche food photography? You will need tables, plates, crockery, and apples! If you’re a fashion photographer, you will need fans to induce dramatic effect to the model.
Photography props are essential and can be determined according to your niche. Minimalist photographers often don’t use any props, and that works, too. But if you plan to use your studio to serve other clients, keeping props is always a good idea.
Props are relatively inexpensive. You can also use homemade props. Anything and everything is a prop if it suits the style of photograph you’re capturing.
Home photography studio kits can be purchased, which contain most of the gear we discussed above. However, these kits don’t offer much customizability, so we only recommend purchasing them if you have a tight budget.
4.7. Shoot the right way
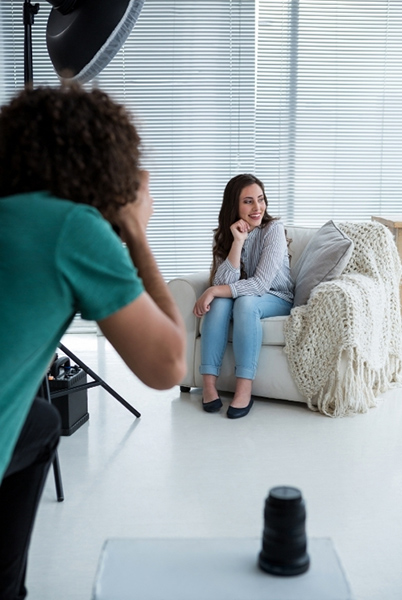
Mismanagement of camera settings can turn an A-star studio into a D-minus one. Non-photographers or beginners may have trouble achieving the right camera settings. Even professional outdoor photographers may not know how to tweak the settings to take photos indoors.
- Learn how to use the ISO, Shutter Speed, and Aperture. Keeping the ISO as low as possible will greatly improve the quality of your images.
- For handheld shots, use a high shutter speed of 1/50 or above will eliminate any haze. We always recommend using a tripod whenever possible.
- Use a tripod with a slower shutter speed which also helps to capture brighter images.
- Aperture completely depends on the style of photograph you plan to take. If you have elements in the background that you want to focus on, using a lower aperture (higher f-number) will bring out those elements.
- If you want to induce some blur in the background and/or foreground, using a higher aperture (lower f-number) is desirable.
4.8. Edit your Images
Once you’re done setting up and capturing photographs appropriately, it’s time to process! Photography post-processing or post-production can often make or break a picture.
Many people wonder – What’s the need for post-processing if a shot is perfectly captured?
Post-processing will always elevate your photographs to a higher level. Minor imperfections like dust, links, skin marks, background creases, etc., are removed immediately with post-production.
Additionally, it helps to balance the colors, adjust lighting & shadows, and add effects.
If you feel your photograph is already perfect from the start, imagine how great it can be with post-processing. Home photography studios will always require photo editing services as there will be a lot of unavoidable imperfections (invisible to the naked eye).
Even professional brands utilize post-production on their photographs to maintain high photo quality and consistency.
4.9. Print Your Images
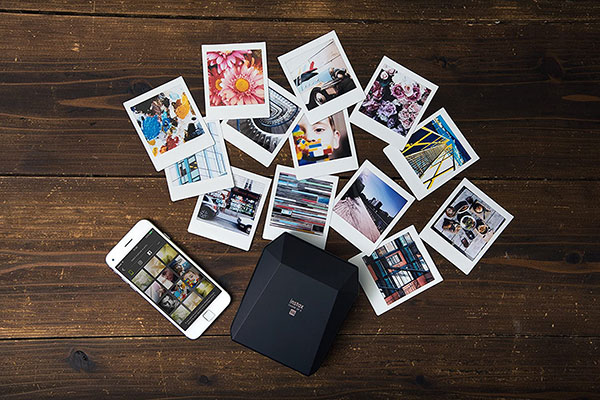
Printing your photos from your home photography studio is essential because photography comes to life when you can see the full image on a tangible piece of paper.
It allows you to fully appreciate the details, colors, and textures of your photographs in a way that digital screens can’t match. Printing your images transforms digital captures into physical artwork you can touch, display, and share with others.
Also, printed photos have a timeless quality that digital images often lack, making them a cherished part of your personal or professional portfolio for years to come.
Here are three ways to print your photos:
- Inkjet Printing: Ideal for high-quality prints with vibrant colors and fine details. Inkjet printers are versatile and can handle various paper types and sizes, making them suitable for different printing needs.
- Photo Lab Printing: Utilize professional photo labs for top-notch prints. They offer a wide range of printing options, including different paper finishes, sizes, and mounting services, ensuring your photos look their best.
- DIY Printing: Invest in a high-quality photo printer for convenient printing at home. With the right printer and paper combination, you can achieve excellent results right from your home photography studio, giving you full control over the printing process.
5. Promote your New Home Photography Studio

Home photography studio owners or photographers planning to serve their studio commercially need to consider marketing it. This is a completely separate factor to consider. Depending on your target, you can do minimal marketing or full-fledged campaigns.
- First and foremost, you’ll need to build your portfolio. Start capturing photos considering all the factors we discussed earlier. You may need to photograph a wide variety of subjects to impress potential clients. A diverse portfolio always helps unless you have a specific niche to target.
- Next, consider branding. Creating a logo and company graphics can be beneficial. For professional photographers, integrating your images with the logo can enhance the “photographer’s studio” vibe.
- Consider investing in a website or promoting your services through social media. Utilizing all these channels can help you reach a wider audience. Make sure to upload your best shots to all these platforms. Integrating your brand logo and graphics across these channels can certainly attract attention.
- Given the abundance of visual content, using platforms like Pinterest and Instagram is almost a necessity for photography services. These platforms also offer lucrative paid promotions and have a wide reach.
- Adding a blog to your website or creating engaging marketing content can increase visitors. Consulting with a marketing expert can broaden your marketing horizons.
As marketing is an entirely separate field, having professional insight will help.
Summary
Phew! That was a long read, but hopefully, it was worth it. You’ll realize how useful this guide is once you apply all these steps to building your home photography studio.
If it helps you, do not forget to share or give us feedback by commenting below!
About the author: Jacob Wyatt is a content marketing expert working for Clipping Path Studio. He specializes in creating optimized content for websites, social media, eCommerce, photography, and other reputable brands. Find him on Twitter or Instagram.
3 thoughts on “How to Set Up a Home Photography Studio on a Budget – 2025 Guide”
Really great article. Thanks for taking the time to explain things in such great detail in a way that is easy to understand.
It was a great blog about how to set up a home photography studio on a budget. it is a very informative article. thanks for sharing your information.
Awesome!! Really it was a great article. Thanks for sharing with us.