“The easiest way to make a photograph is to place your subject in the middle of the frame.” – Joel Meyerowitz
But what happens if you don’t?
In this issue, I am writing about a technique in photography that is used by every beginner and professional photographer.
The rule of thirds
So, I did a small research on the web, and here’s what I’ve found. The following metric shows how many people type “the rule of thirds” in the Google search engine every month.

Every month, the number of people who search this query on Google is over 60.000! Crazy right? This is how important the rule of thirds is in photography!
What is the rule of thirds?
The rule of thirds is the most popular and simple compositional technique in photography because it guides you to shift your subject in one-third of your frame, leaving you more space in the remaining area. This way, you create more compelling images!
Rule of Thirds Grid
The rule of thirds is nothing but four points within a frame where (hypothetical) two horizontal and two vertical lines intersect. (It should look like the image below)

How to use the rule of thirds
- Switch on the grid on your iPhone or your camera. (You can find this option in the settings area on your phone or camera.)
- Place your subject in one of those points where the lines intersect. (Also make sure your focus point is on that area, so your subject is sharp!)
Rule of Thirds Examples
In this image, the subject is at the top right point of the intersection.
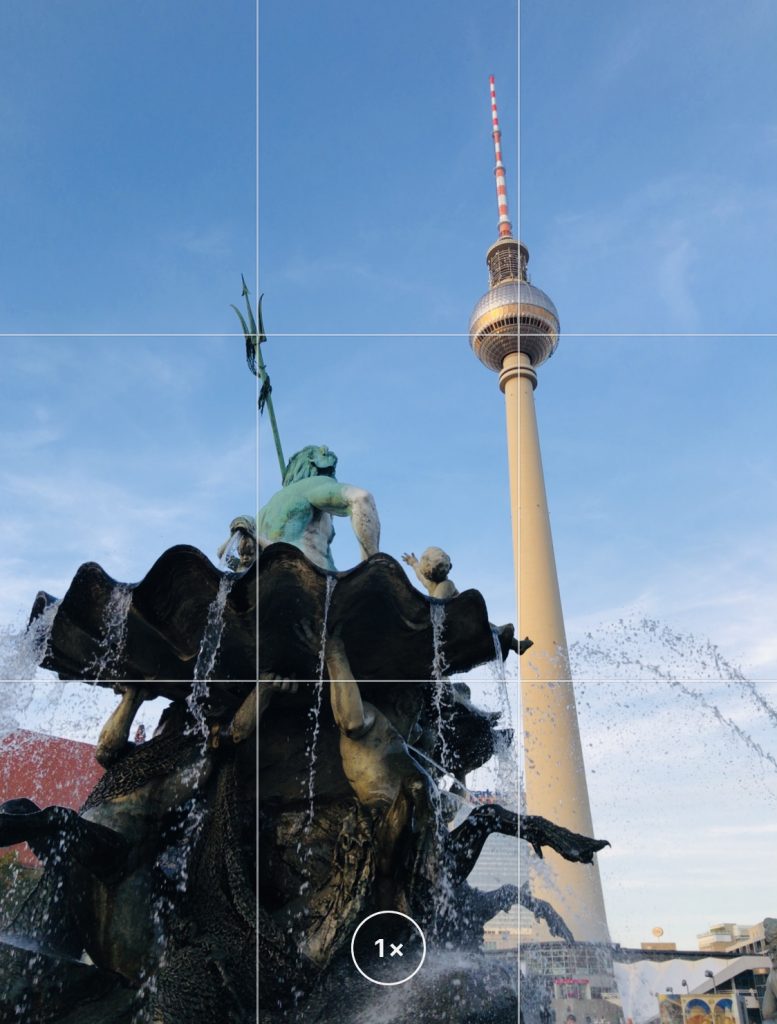
Here, I have used the rule of thirds by placing the subjects at the top right and bottom left point of intersections.

In this image, the flower is at the bottom right point of the intersection while maintaining the information in the background using f/8.
If you noticed the horizon is placed at the bottom horizontal line because there is more information to show in the sky (mountains, clouds, etc.).
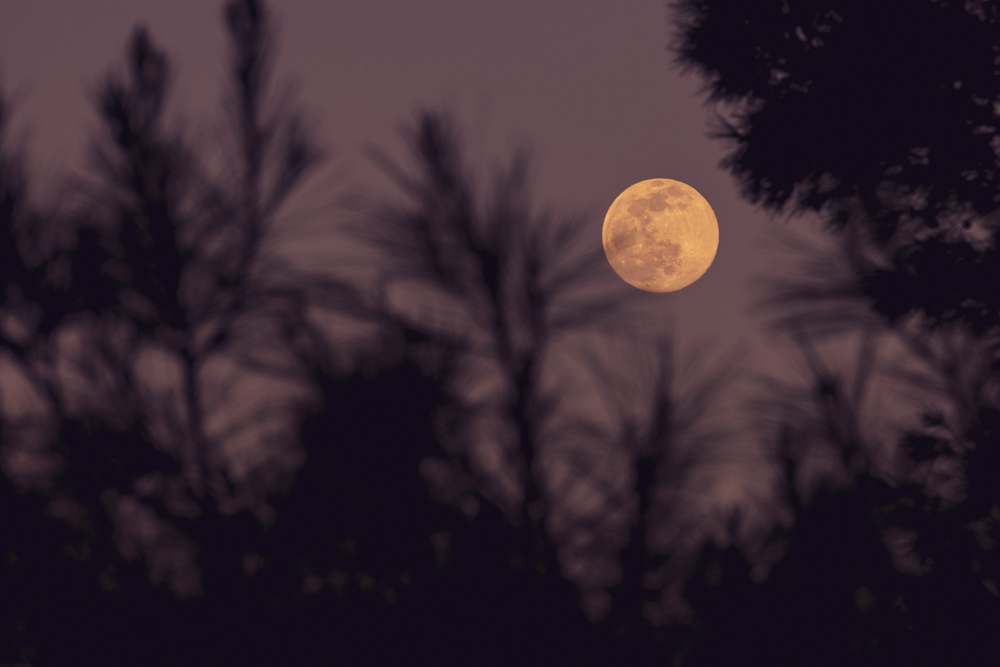
Here our subject is the moon with the foreground out-of-focus. The moon is at the top right point of the intersection.
What else to know when applying the rule of thirds
There are two important things to remember when you are using the rule of thirds:
1. Landscapes
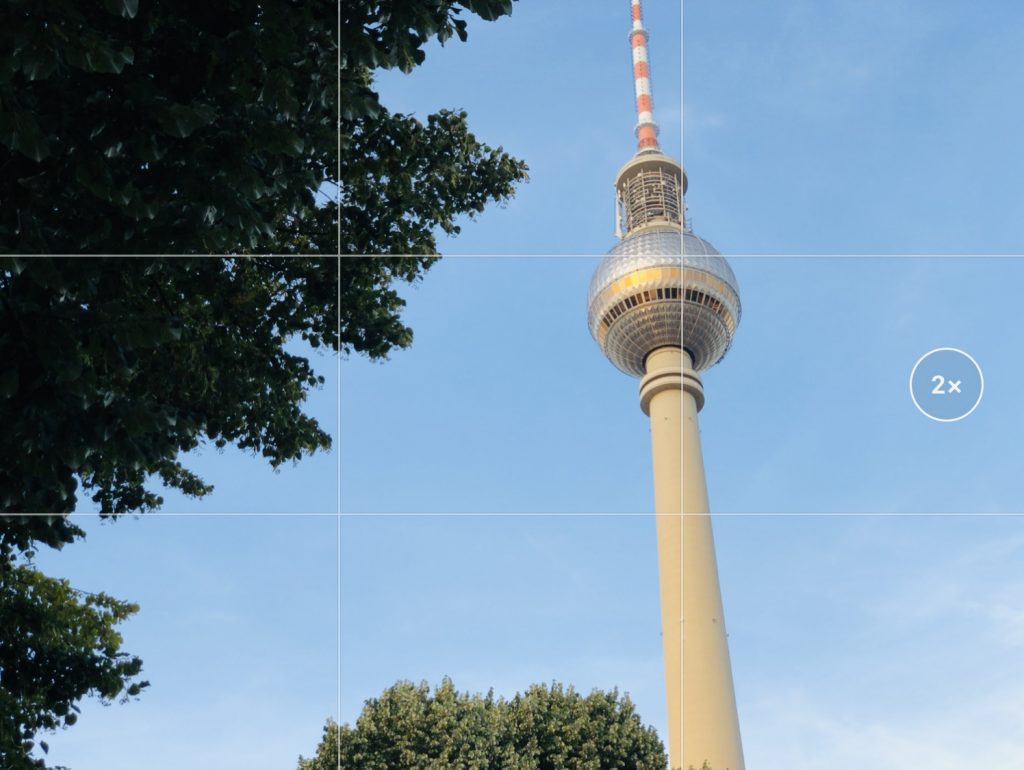
When you take photos of landscapes, you can place the horizon at the bottom or top line of the grid but which one is the best?

The best way to understand where to place your camera is to look where you have more information. For example, if your sky is clear, with no clouds, then place the horizon at the top line of your grid (see example above).

If you have beautiful colors in the sky with wonderful clouds, mountains, etc., place the horizon at the bottom line of the grid (See example above).
2. People
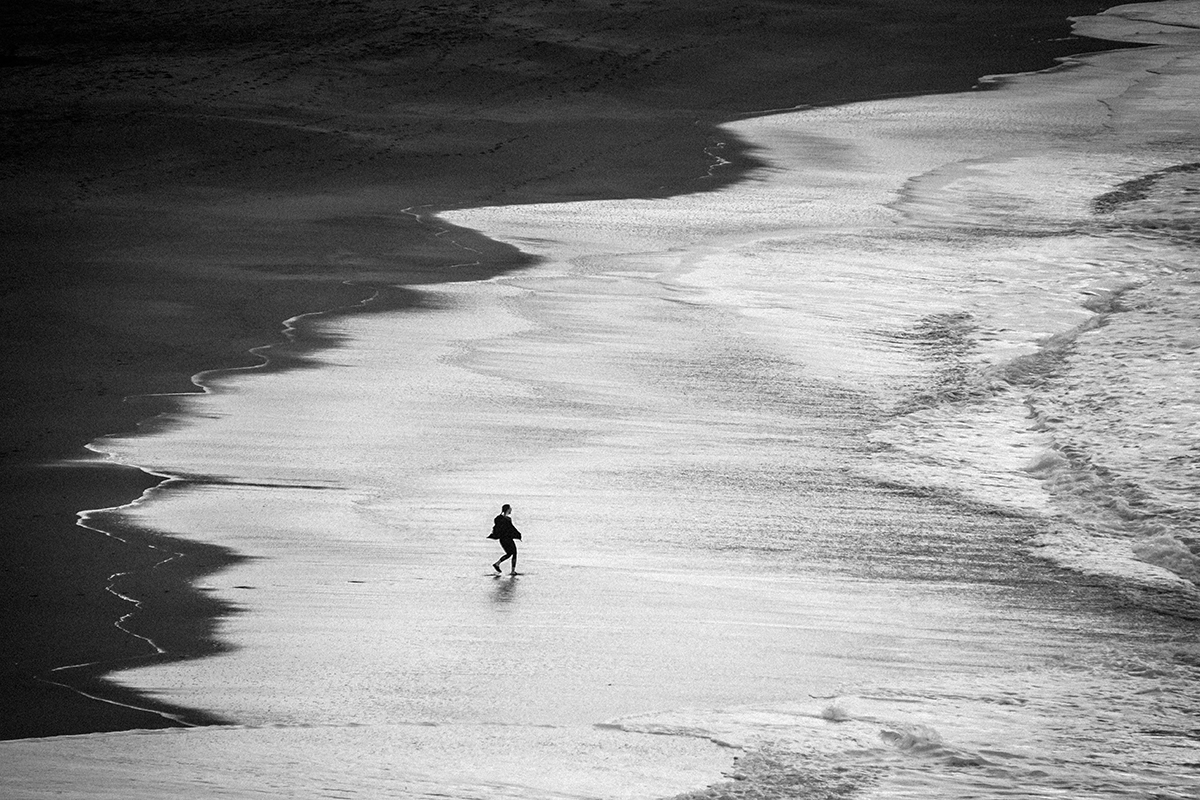
The rule of thirds can be used while photographing people as well. You have to take into consideration where the person is looking or walking at.
For example, if the person is walking or looking towards the left side, you should place them on the top or bottom right intersection points.
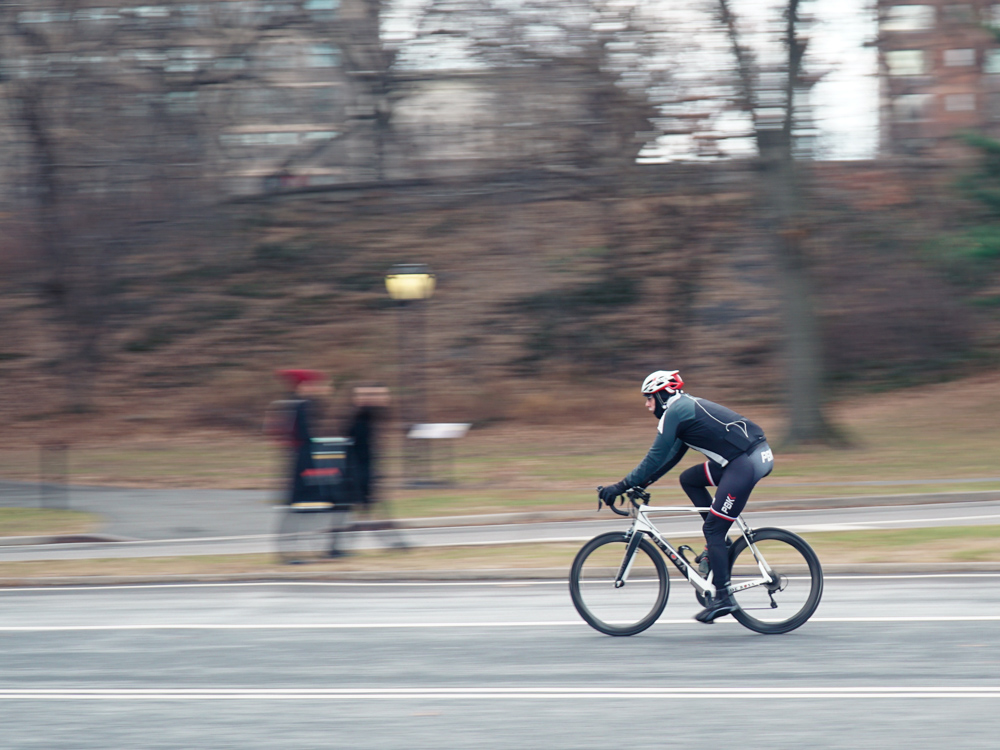
This way you create a better story about the space they’re walking into. Of course, you can break the rule and do the opposite, yet to me it’s more appealing to do it this way.
Many photographers break the rule and on some occasions, the photo looks great – you should try it and leave a comment on how you have found it more useful to you!
It’s your turn!
Try the rule of thirds in your photography and tag me on Instagram @johnmakphotography or send me your image via Direct Message.
I will review and post your photo as an example in this article! 🙂