Landscape photography is about being in wonderful places, engage with the world, and capture its beauty.
If you want to create a magical landscape wallpaper that you can print and hang in your living room, follow these three easy steps:
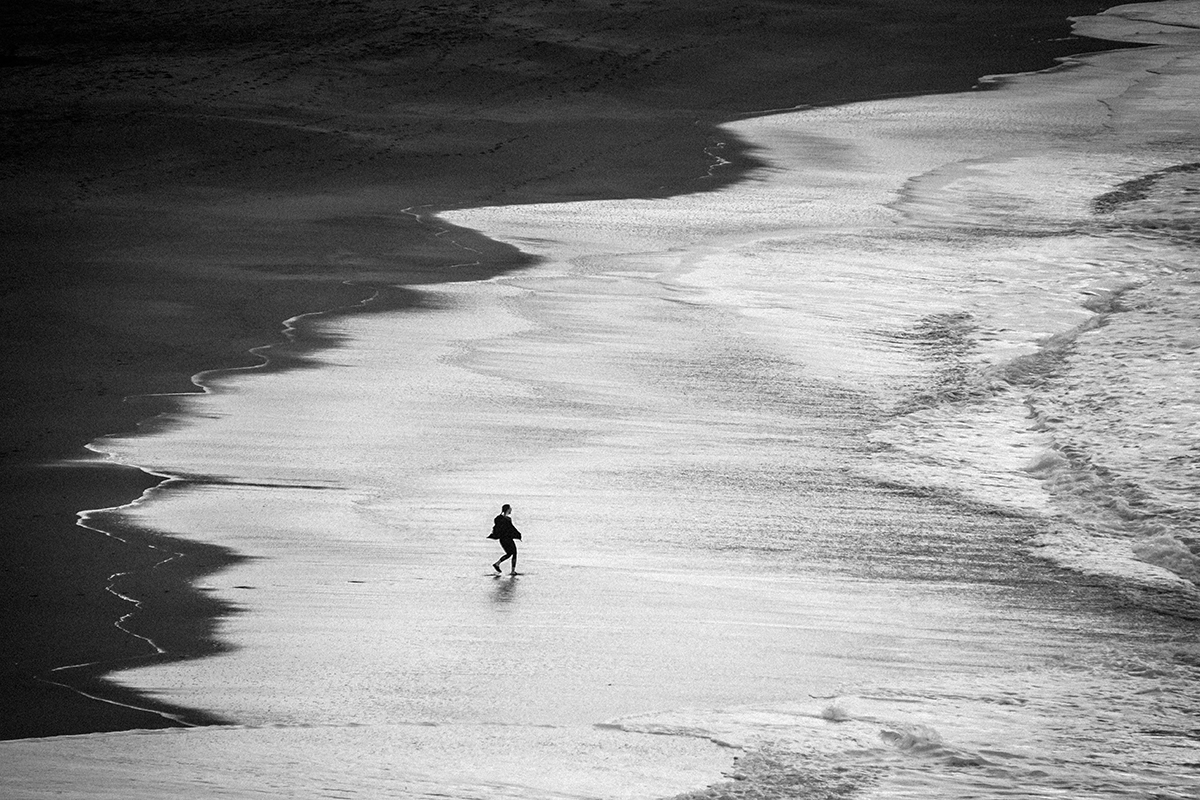
- Compose your shot using the rule of thirds
- Use ND Filters and proper camera settings
- Edit your landscape shot in Lightroom
1. Compose your shot using the rule of thirds
Creating an image is totally different than taking a picture. When you create an image, you think about your composition and what you want to convey. The ideal way to craft an interesting landscape picture is to learn how to compose it.
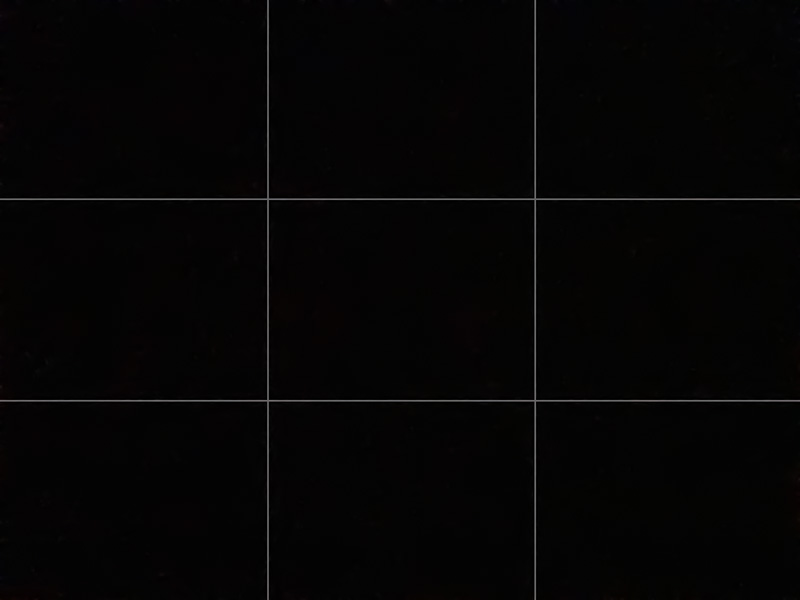
The rule of thirds is the most common photography technique that makes your photo more appealing. Turn your camera grid on and notice where the two horizontal and two vertical lines intersect. Then, place your subject in one of those intersecting points.
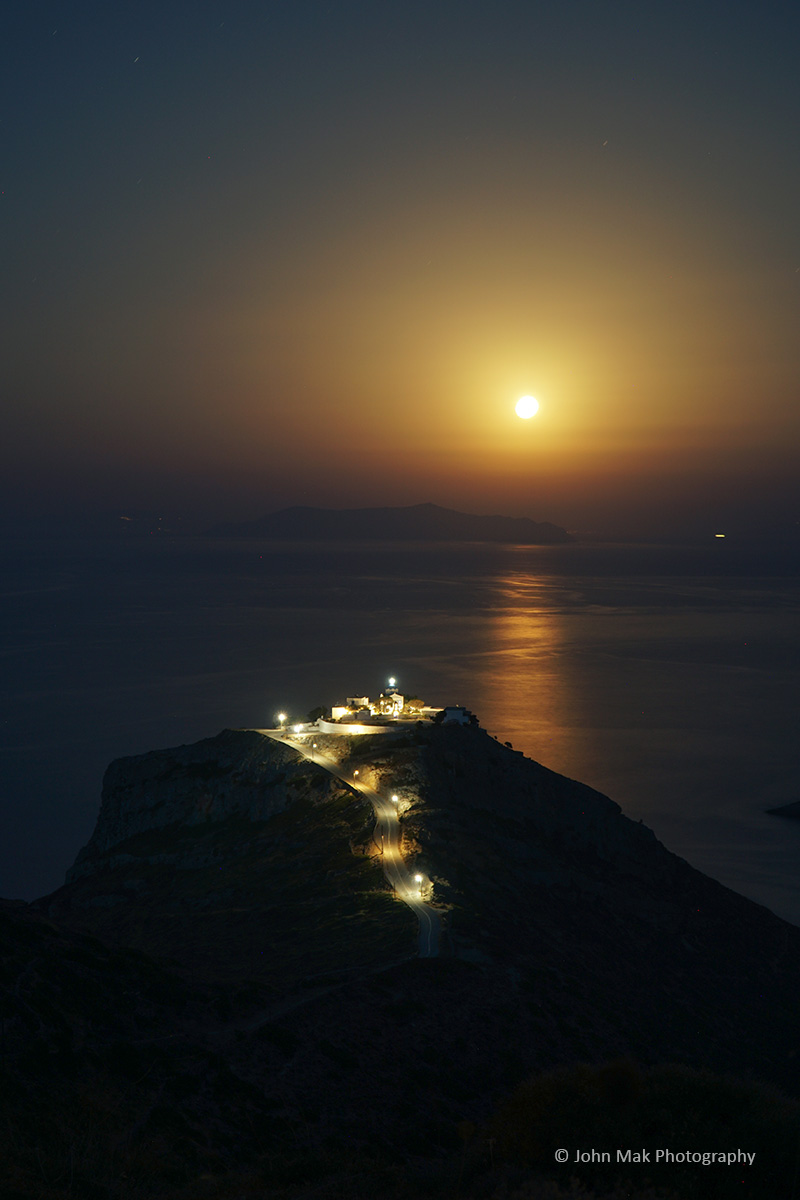
In the above image, the moon is placed exactly at the top right intersecting point. It is a better and more interesting composition than placing it in the center of the image. Also, the horizon is placed close to the top horizontal line (not exactly at the center).
2. Use ND filters and proper camera settings
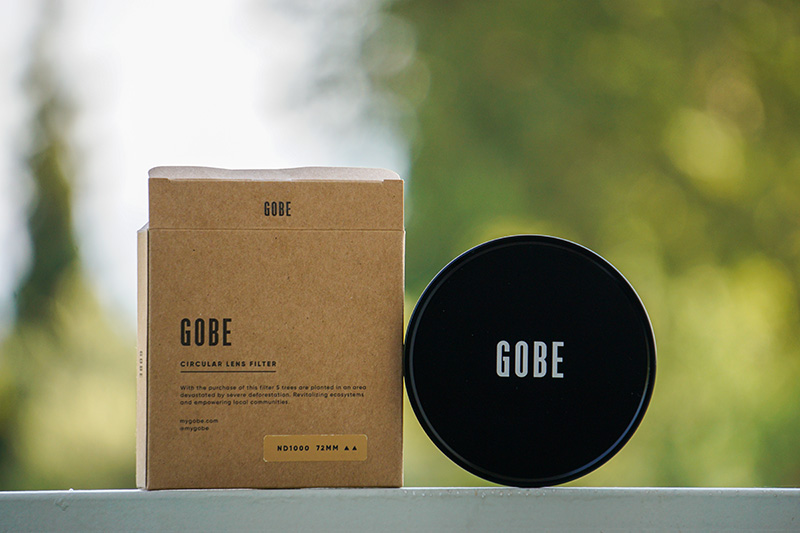
An essential tool for landscape photography is a neutral density or ND filter. These filters help your camera sensor to extend the time (a.k.a. shutter speed), by blocking light in order to capture a long exposure shot. The darker the filter, the slower the shutter speed.
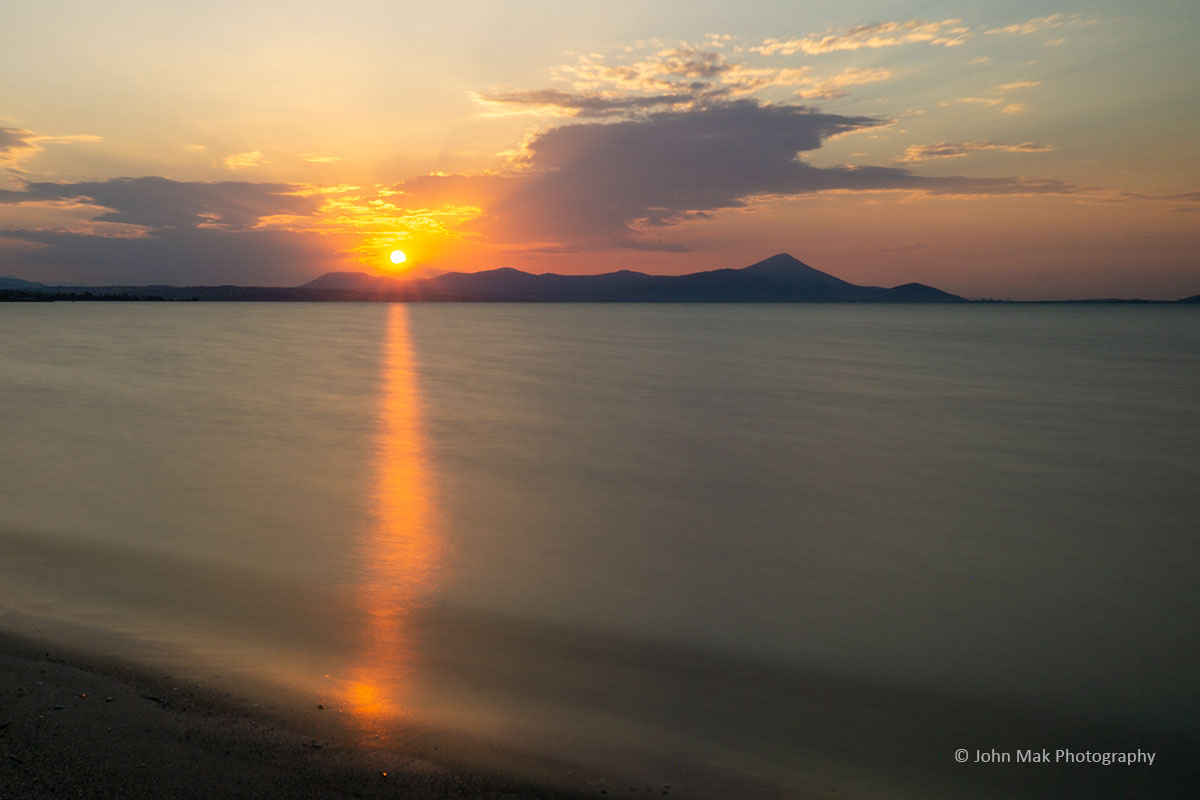
Set the shutter speed at 30 sec, the aperture at F16, ISO 100, while using manual focus before you screw the ND filter on your lens. These camera settings will give you a smooth surface on the water as the example in the above image.
Use different camera settings depending the light in your scene. You can increase the ISO or use a wider aperture if your scene looks too dark. In addition, more ND filters are available in the market. You can buy a 10-stop for photos and a 6-stop for videos.
3. Editing your landscape photos in Lightroom
Always capture your images in RAW. It will give you more photo editing flexibility than JPG. When you open your image in Lightroom, click on Develop and start editing.
The main purpose of editing an image is to make it look better. I’m always trying to match the brightness and the colors as it was in reality. Those wonderful nature backgrounds should be captured the way they look in real life.
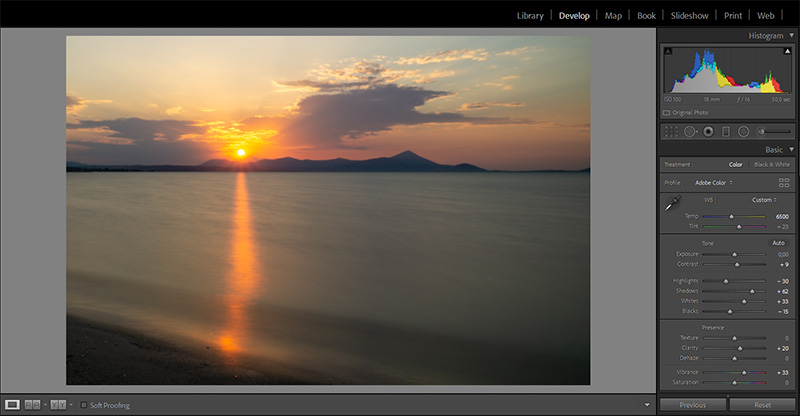
Take a look at some basic tweaks I did on the basic slider’s tab.
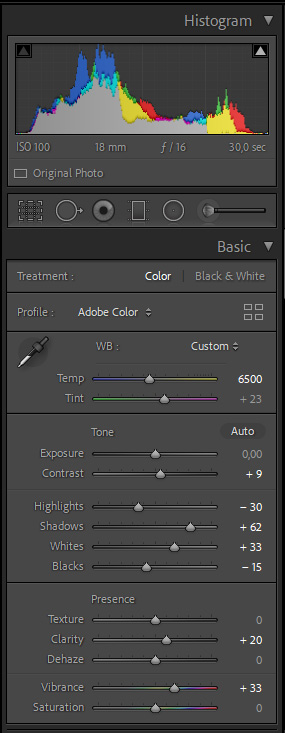
I didn’t add any graduated filters in this image, neither any vignetting effects. I have only added sharpness (+20). The more you get your settings right in your camera when you take the photo, the less editing you need to do.